

Hello! I’m very excited to part of the Hero Arts Creative Team blog hop this month! If you are hopping along with us, you have just come from the lovely Rebecca. If you happen by chance or a regular subscriber to my blog, welcome!
This month’s My Monthly Hero kit is unique in a sense that a wonderful “vintage” product is included – Rub-ons! As a kid, I loved playing with rub-ons! Did you play with them too?
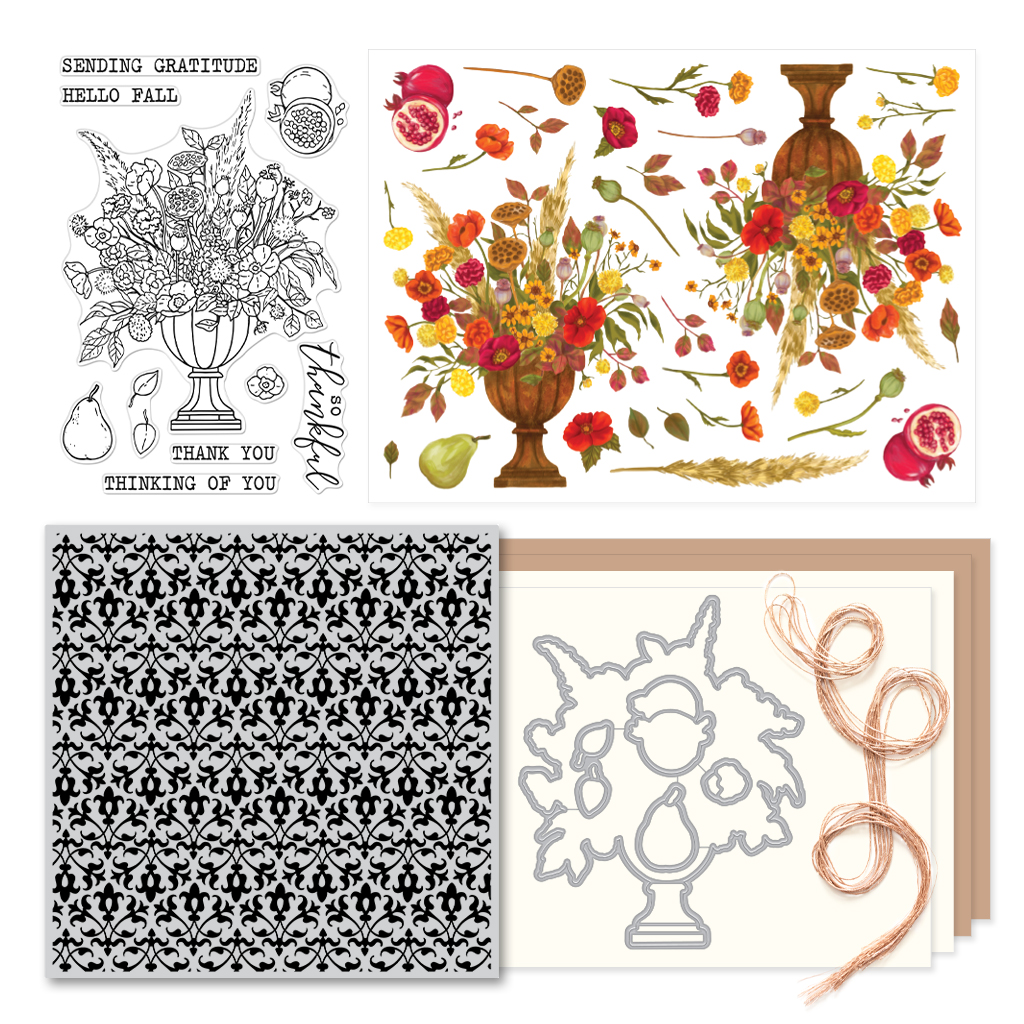
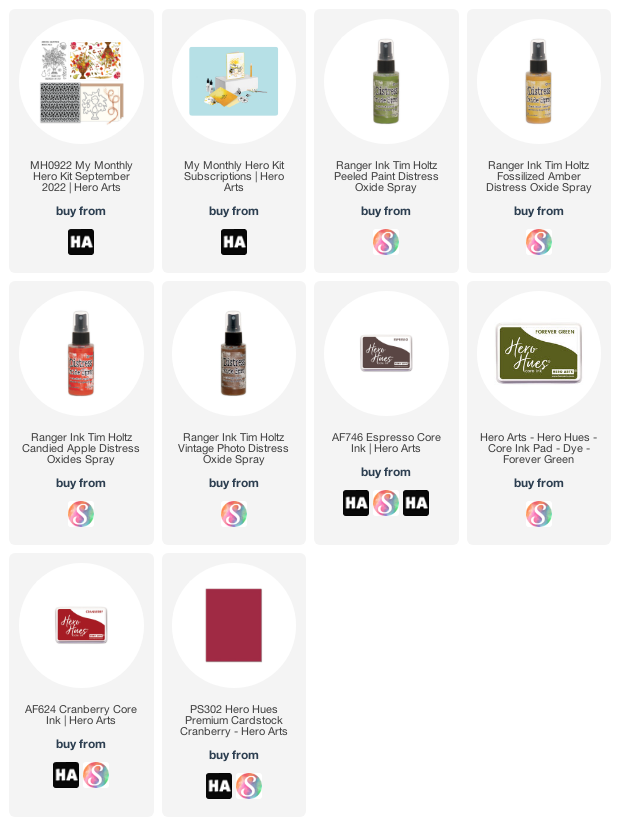
Contents of the Kit:
• 3″ x 4″ Clear Stamp Set
• 6 Coordinating Frame Cuts
• Rub-on Transfer Sheet
• 6″x6″ Cling Background Stamp
• 2 Sheets each of Cardstock, Sand & Ivory (5.5″ x 8.5″)
• 5 yds Rose Gold Metallic Floss
My card inspiration for you today is a Thanksgiving/Thank you card with a bit of a vintage feel. This was so easy to do with the contents in the kit!
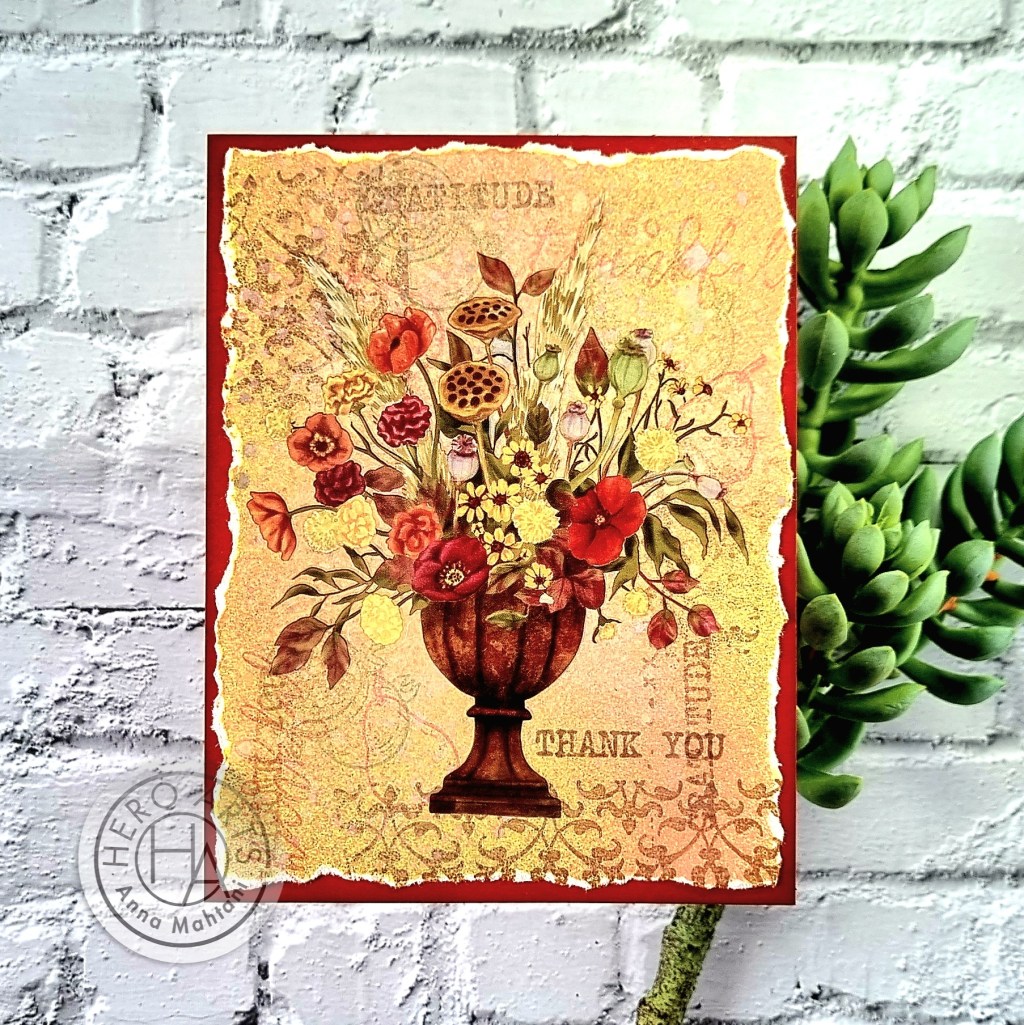
First, I took a panel of ivory cardstock that came in the kit and cut it in half to 4.25″X5.5″. I only have four Oxide Sprays in my stash and coincidentally, the colors I had matched perfectly with the images on the rub-ons. I took the ivory panel to a shoebox and started with Fossilized Amber Oxide, giving the panel a few spritzes. Next I spritzed a little Vintage Photo Oxide, then a few spritzes of Candied Apple Oxide and then Peeled Paint. Once the panel was dry, I tore the sides of the paper to give it an antique and weathered look.
Next, I applied Espresso Ink to the corner of the 6X6 cling stamp also from the kit and stamped on the bottom and the upper left side of the panel. Then I took the small image stamps in the set – the pomegranate and pear and used a Cranberry & Forever Green ink and stamped it on the panel. So as not to make it too dark, I inked up the stamp first, stamped it on a piece of scratch paper before stamping it onto the panel. This is called second generation stamping. I did the same with the “gratitude” sentiment and “so thankful” sentiment.
Now it’s time for the fun part – the rub-on! First, I fussy cut the image of the large vase of flowers. The instructions on how to use the rub-ons come with the kit. After fussy cutting it out, I peeled off the backing, then placed the image onto the card panel. Starting at the bottom, I rubbed the image with the popsicle stick that came with the kit. My tip for you is to slowly peel it up starting from the bottom, while rubbing it with the stick as you move up the image. That way, if some parts appear to not have transferred, you can lay it down again and burnish it.
To finish off the card, I stamped the sentiment “thank you” on the right side of the vase using the Espresso ink.
I hope you were inspired by my project for today! Hop onto the wonderfully talented Jen for more inspiration!
Hero Arts will be giving away a $50 gift card, drawn from the comments left across the hop. Enter by Sunday, September 11th at 11:59pm Pacific, and the winner will be announced on the Hero Arts blog the following week. Good Luck!
’til next time!
Have a wonderful and crafty day!
❤️
Anna
Thank you for visiting my blog. You can also find me on Instagram, YouTube, Pinterest and Facebook.
HOP LIST:
Anna Mahtani – YOU ARE HERE!
Product List:

Wow!! Your background looks like purchased designer paper! I would never have thought to use 2nd generation stamping to create such an amazing effect, but I sure will now!
LikeLiked by 1 person
Beautiful vintage effect!
LikeLiked by 1 person
Love your card!!!
LikeLiked by 1 person
Especially like the vintage/distressed look of your creation.
Melissa
“Sunshine HoneyBee”
LikeLiked by 1 person
Absolutely gorgeous card! The design is amazing.
Thanks for sharing.
LikeLiked by 1 person
WOW! This card design just stopped me in my tracks completely. The colors, the vintage vibe, the torn edges, the intriguing background…love love LOVE this! So beautiful and inspiring!
LikeLiked by 1 person
Your card is stunning! I love the torn edges on the background!
LikeLiked by 1 person
THIS IS AMAZING! I LOVE the rustic feel!
LikeLiked by 1 person
Stunning card Anna
LikeLiked by 1 person
Fabulous card! I love the use of the rub-on over the artistic background.
LikeLiked by 1 person
A gorgeous card Anna! I love it. It reminds me of an old world card.
LikeLiked by 1 person
Wow, I adore this design and the rub-on looks fantastic against the vintage background.
LikeLiked by 1 person
So gorgeous!
LikeLiked by 1 person
Beautiful–love the vintage look.
LikeLiked by 1 person
This is artistic and beautiful!! Love the frayed edges!! Gorgeous card and wonderful kit!!
LikeLiked by 1 person
Gorgeous colors and design! Lovely card!
LikeLiked by 1 person
Anna, that is one stunning card! It has a real old world feel to it! Thanks for inspiring me 🙂
LikeLiked by 1 person
Hi Connie! Congratulations on winning the $50 gift card from Hero Arts!! Please send an email to info@heroarts.com to claim your gift card. Enjoy!!
LikeLike
Ya’ll are sooooooo generous! I’m so excited and ready to shop! Thanks for the great products and all the inspiration and the $50 gift card too! I’ve contacted the company 🙂
LikeLiked by 1 person
You’re so welcome, Connie! ❤️
LikeLike