

Hi everyone! It’s time for our A Blog Named Hero monthly challenge! And it’s all about shaped projects!

Hero Arts has a fantastic array of infinity nesting dies that can make great shaped cards – traditional ones like squares and circles and non-traditional ones from t-shirts to tea cups!
I don’t own any of those non-traditional ones but I thought that I could show you fun ways to use the traditional ones to create “shaped cards” or in my case a ” tag-shaped” card.
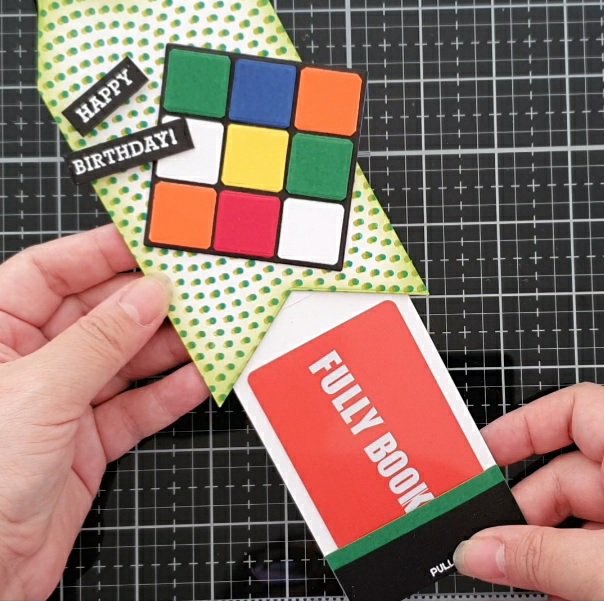
My nephew is turning 13 in a few days and he is an avid cuber. He and my daughter play around with their Rubik’s cube a lot and they enjoy competing with each other. He is an avid reader as well so I thought it would be nice to combine the two of his favorites into one card. My inspiration today is a “tag-shaped” gift card holder. It also opens up into a card! The holder will contain a gift card to his favorite bookstore. I used two sets of Hero Arts Infinity nesting dies to create this – square and hexagon. And because my theme is “toys”, I just had to take a quote from one of my favorite Disney Pixar movies as the title of my blog.

I have a step by step video on how I created this. You can also follow along my blog, too.
To create the “tag base” I took a piece of Dove White cardstock measuring 8.5″X 11″. On the 8.5″ side I cut it down at 3″ and folded it at 5.5″ to create a top folding card base. Alternatively, if you already have pre folded top-folded card bases, you can cut that down too.
Using the hexagon infinity die (the 4th from the biggest one), place the flat part of the die a little outside the top fold before placing it in your die cutting machine. This will cut out even slanted edges without cutting the fold.

Then to cut the fishtail portion of the tag, I used the pointed part of the same hexagon die centering it at the bottom before die cutting it.
For the gift card mechanism, I cut a piece of cardstock measuring 2.5″X 4.25″. I also cut two thin strips measuring 1/4″ X 2.75″. And a final piece to hold the card measuring 1″ X 2.5″. I then adhered the two thin strips one on top of another and glued it at the top of the 2.5″ X 4.45″ piece, making sure it was evenly glued on both sides. I also glued the smaller piece that measured 1″ X 2.5″ at the bottom, but only on the sides and bottom to create a pocket for the gift card.
I used one of my leftover backgrounds from a previous project for the top part of the tag. I had stamped that using the Dot Moire Bold print stamp, offsetting it a little after stamping on one color. I cut that exactly like how I did for the tag. Then I put it on top of the tag temporarily to punch a hole.
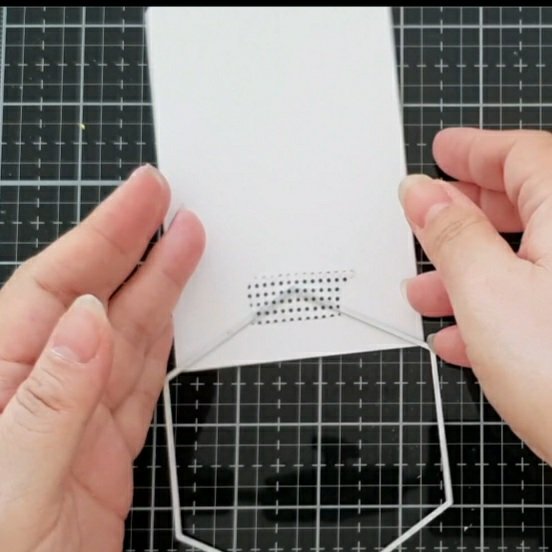
To assemble the tag, I took very thin strips of fun foam and adhered it to the sides of the tag. I made sure that the mechanism could still slide easily between the two strips of fun foam. I also added fun foam at the top of the tag, cutting out a hole as well before adhering it.

To create a stopper, I added two very small strips at the bottom next to each of the existing small strips. This enabled the slider mechanism not completely slide off. Then I placed the mechanism inside the space created for it and then placed glue on all the areas of the fun foam, then placed the stamped tag panel on top to close it off.
The Rubik’s cube is super easy to make! I only needed two dies from the square infinity die set – the 2.5″ square die for the base and the 3/4″ square die for the little squares inside the cube. With the bigger die, I cut out three pieces from black cardstock and glued them together. Then I die-cut several colors of cardstock – red, orange, green, yellow, blue & white. I stacked two of them for some dimension. I also rounded the corners of each by snipping off very little with my craft scissors. Then I glued them in a random pattern on the bigger black square – making sure it was spaced out evenly. Then I glued that onto the tag base, white heat-embossed the sentiment “Happy birthday” from the Sending Love Mail stamp set onto pitch black cardstock, the cut in half and mounted on a left over strip of fun foam and adhered to the card.

That was so so much fun to make that I had to make another “toy” inspired card.

For this one I made from the Rectangle infinity dies and the square die, the same one I used for the Rubik’s cube. I used a hole puncher to punch out the little round pegs for the Lego bricks.

I used the Happy Thanks Stamp & cut set for the “Happy birthday” sentiment. I die-cut it from different colors of cardstock and cut out the letters individually and adhered it onto a black Happy sentiment, off-setting it a little to create a shadow. The word “Birthday” is white heat-embossed on Pitch Black cardstock.

Here is another toy-inspired card using another Hero Arts set – the Wood Frame Infinity Die set.

I nested the two frames on a piece of Neenah Desert Storm cardstock and die-cut it out. The wood grain would be perfect for the Jenga blocks!

Then using a cutter, I cut four 1.5″ pieces from the sides of the frame. then cut five 1/2″ pieces from the top and bottom of the frame. I rounded the sharp edges a little with my scissors, then ink blended the sides of each block with Hero Arts Sandstone ink.
The background was a leftover background from my last A blog named Hero inspiration card. To make the Jenga blocks stand out from the bust background, I put a piece of rectangle vellum behind it. The sentiment “Sending you a jenga on joy” is from the June 2019 My Monthly Hero kit which originally read ” Sending you a jungle of joy”. I just masked the word Jungle and handwrote the word “jenga” instead.
I can hardly wait to see what you create for this month’s SHAPED cards/projects challenge using Hero Arts products.
See you at the gallery!
I am entering this is in the Stay Crafty with Hero challenge. This month’s theme is Birthday cards!

‘Til next time!
Anna
Thank you for visiting my blog. I truly appreciate it! You can also find me on Instagram, YouTube, Pinterest and Facebook.
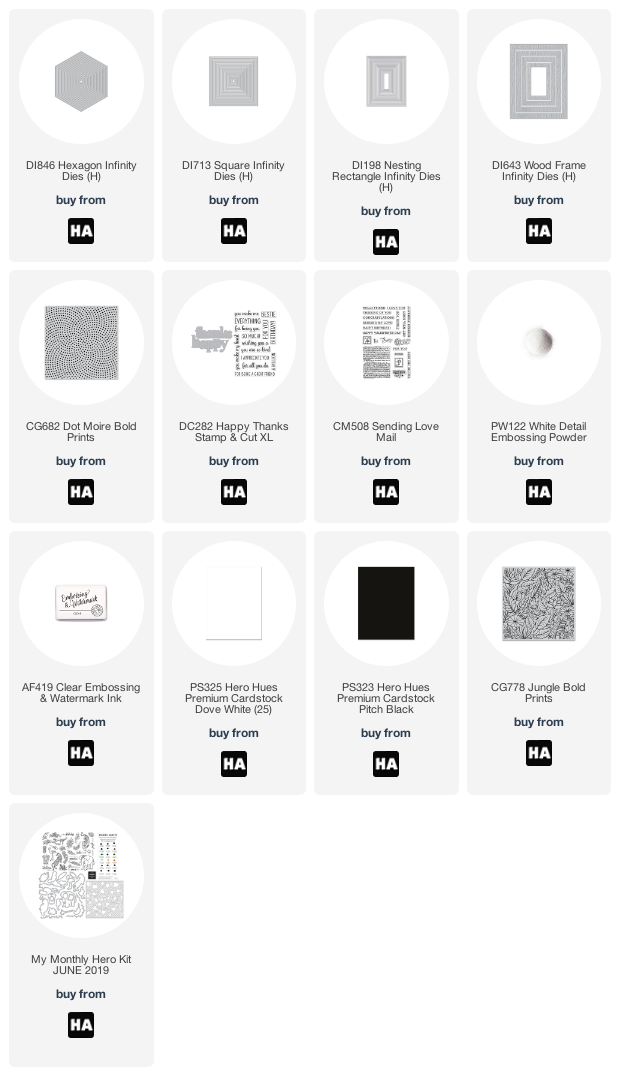
PRODUCTS:

Wow!!! I love these cards 😍 Great ideas, thanks for the inspiration!!!
LikeLike
Thank you Maria! 💕
LikeLike
WOW! Love these fun cards! So creative. Thanks for the inspiration and for the instructional video showing how you made that really neat gift card tag and the Lego blocks. It’s easy to see that you put a lot of effort into your work but that effort is matched by an equal amount of love. Thanks for the inspiration!
LikeLike