

Hi everyone! This year has been a lot about using what I have in my stash. I feel like I’ve accumulated waaaay too much paper and beautiful origami paper is no exception.
The latest Hero Arts Stay Crafty challenge which is all about gift card holders, inspired me to create a gift card holder inspired by origami paper. If you do not have origami paper, Hero Arts has some beautiful origami inspired cling stamps that you can use for this project. In fact, with this quick and easy design, you can easily use any paper you have in your stash! I also have an idea for a unique closure on the gift card.

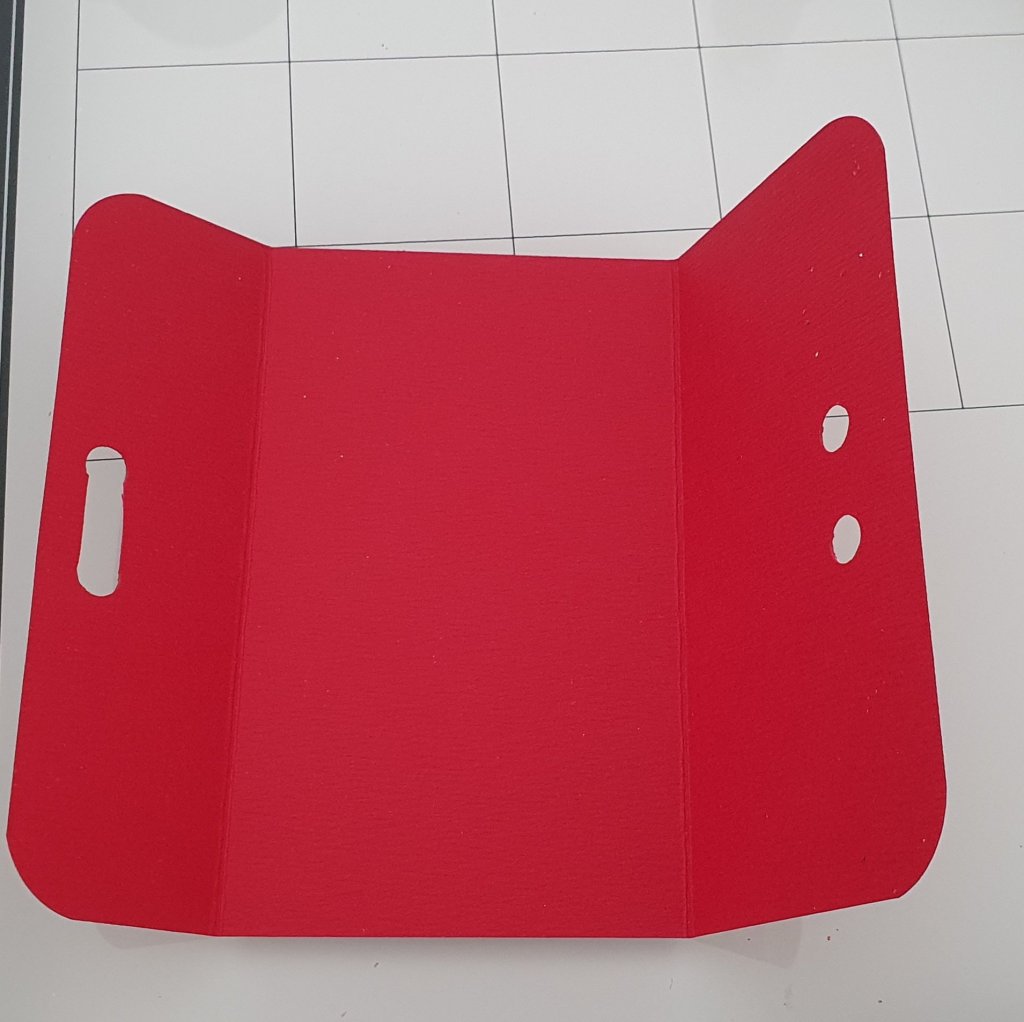
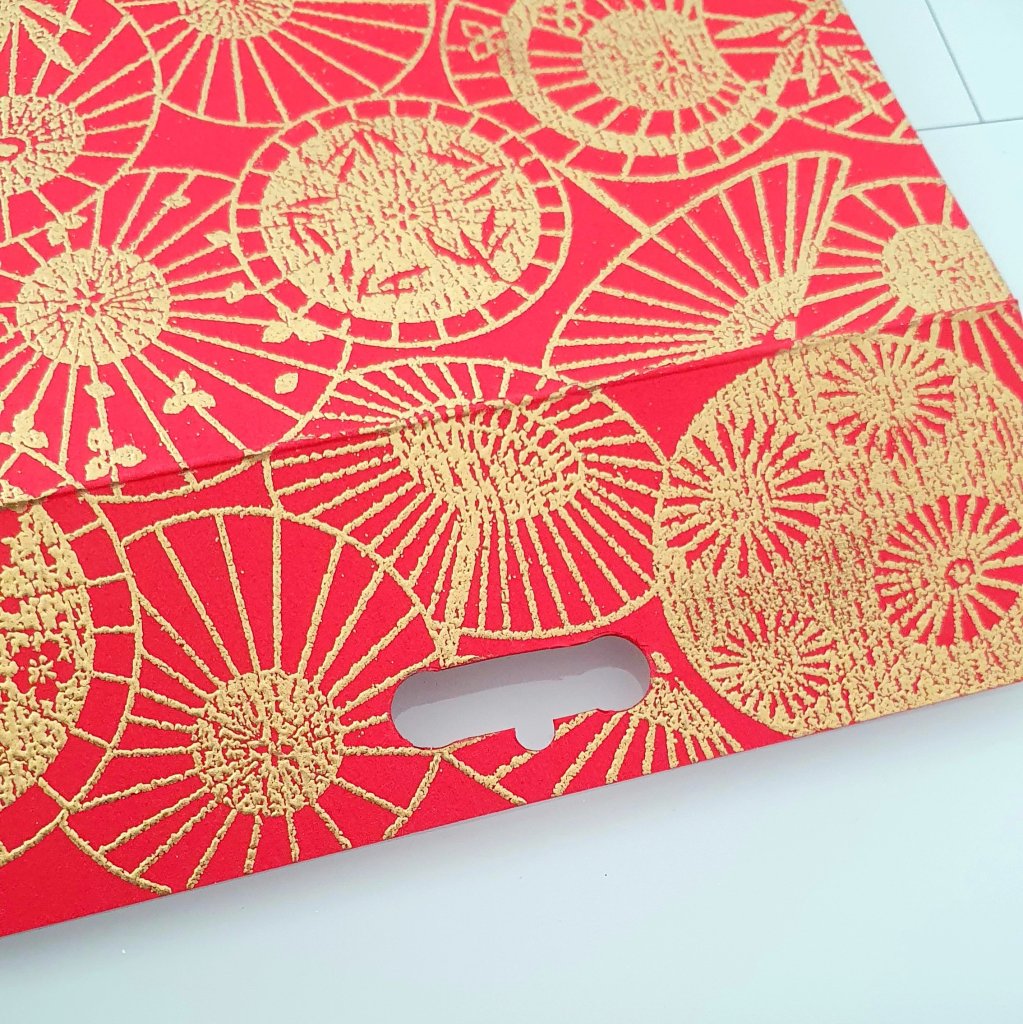
For this project, I will use the Hero Arts Parasol background cling stamp. I stamped it on 6″X6″ red cardstock with embossing ink and heat embossed it with gold embossing powder. Then I cut the panel down to 4″X6″. Then on the 6″ side, I scored it at 1.25″ then at 3.75″.
On the top flap, I took center point at 2″, and with a hole puncher, punch two holes on either side approximately 1/8″ from the center point. I closed the upper flap onto the lower flap and marked the holes with a pencil. Then punched holes following the pencil lines. On the upper flap, cut a slit across the two holes and open up the whole area with my scissors. This enables the toothpick to go through easily.
I took a piece of the left over scrap of embossed cardstock and cut off a little strip. I put glue on either side of the strip and used it to cover the holes in the inside bottom of the gift card. This is optional, of course, but I find that it helps protect the gift card from getting scratched by the toothpick closure. and it also gives it a more finished look.
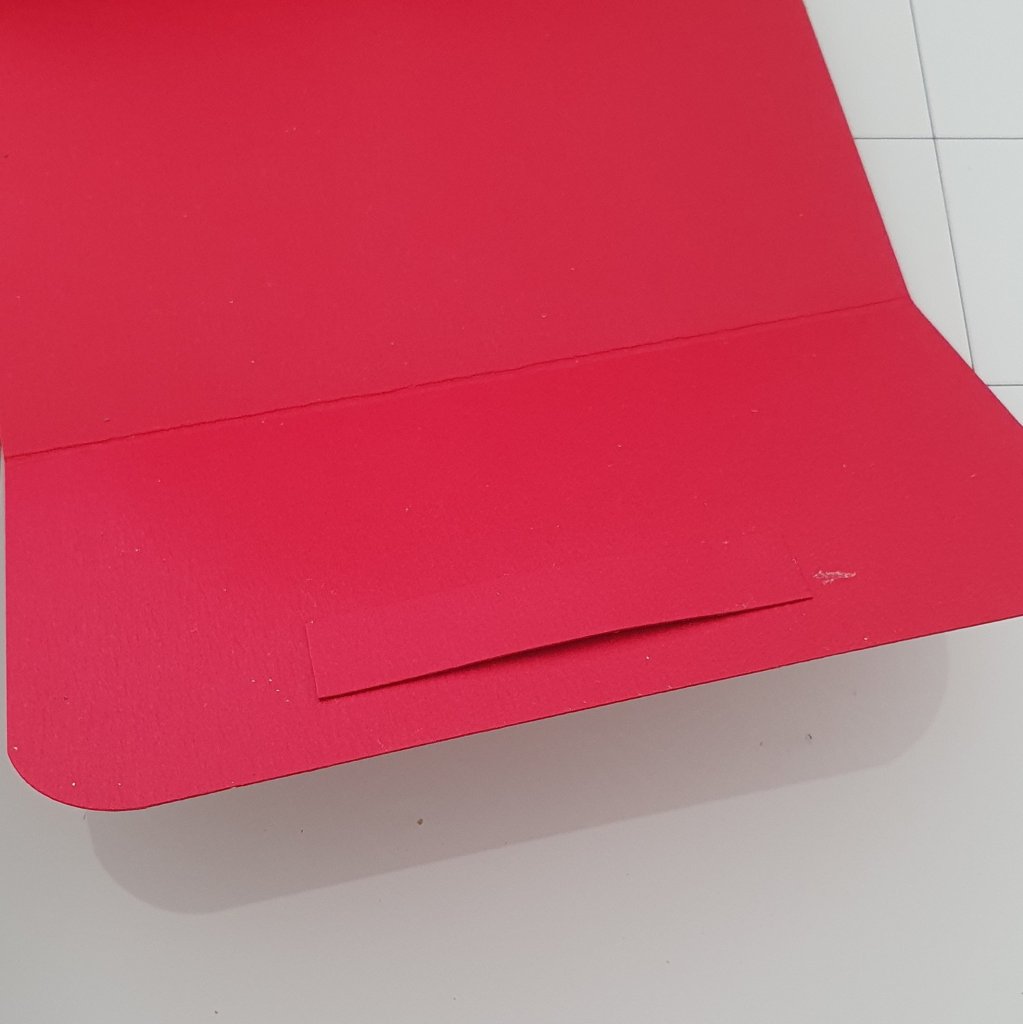
I wanted to add a little mini tassel to my gift card so I cut off a little notch with my smaller hole puncher. This would keep the loop of the tassel from moving around. I placed a tiny strip of liquid glue on both ends of the bottom closure and sealed it. This created a pocket for the gift card.
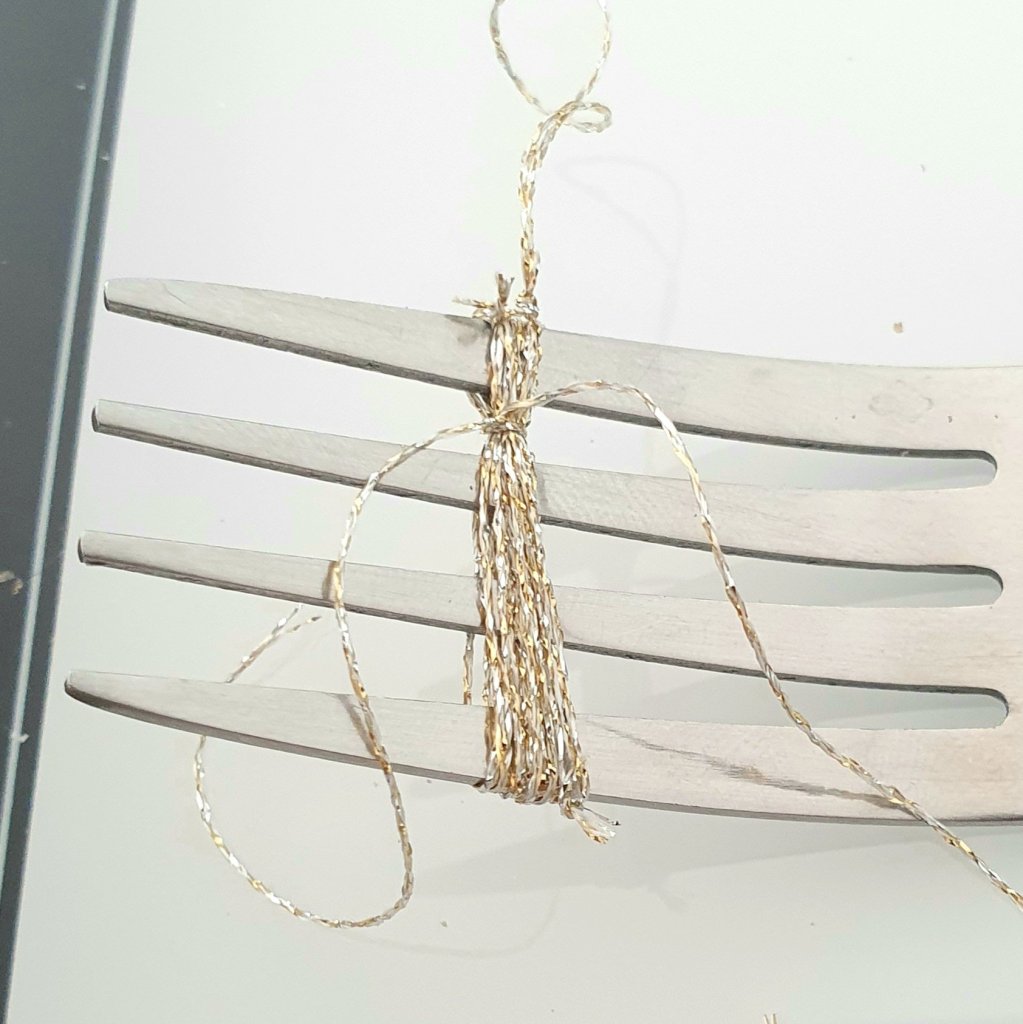
Speaking of tassels, I made one with some metallic embroidery floss which I had in my stash back in the day when I was very much into cross stitching. I took a dinner fork and looped the floss around the tines of the fork about 20 times. Then I took a piece of embroidery floss and tied a loop at the top. Then took another piece of embroidery floss and tied the looped floss at the first tine of the fork. This created the “head” of the tassel. I removed the tassel from the fork, then trimmed the bottom.
I looped the finished tassel around the hole the of the top flap and the little notch I created held it in place. If you do not have a small hole punch then you can just cut a small slit in the middle.
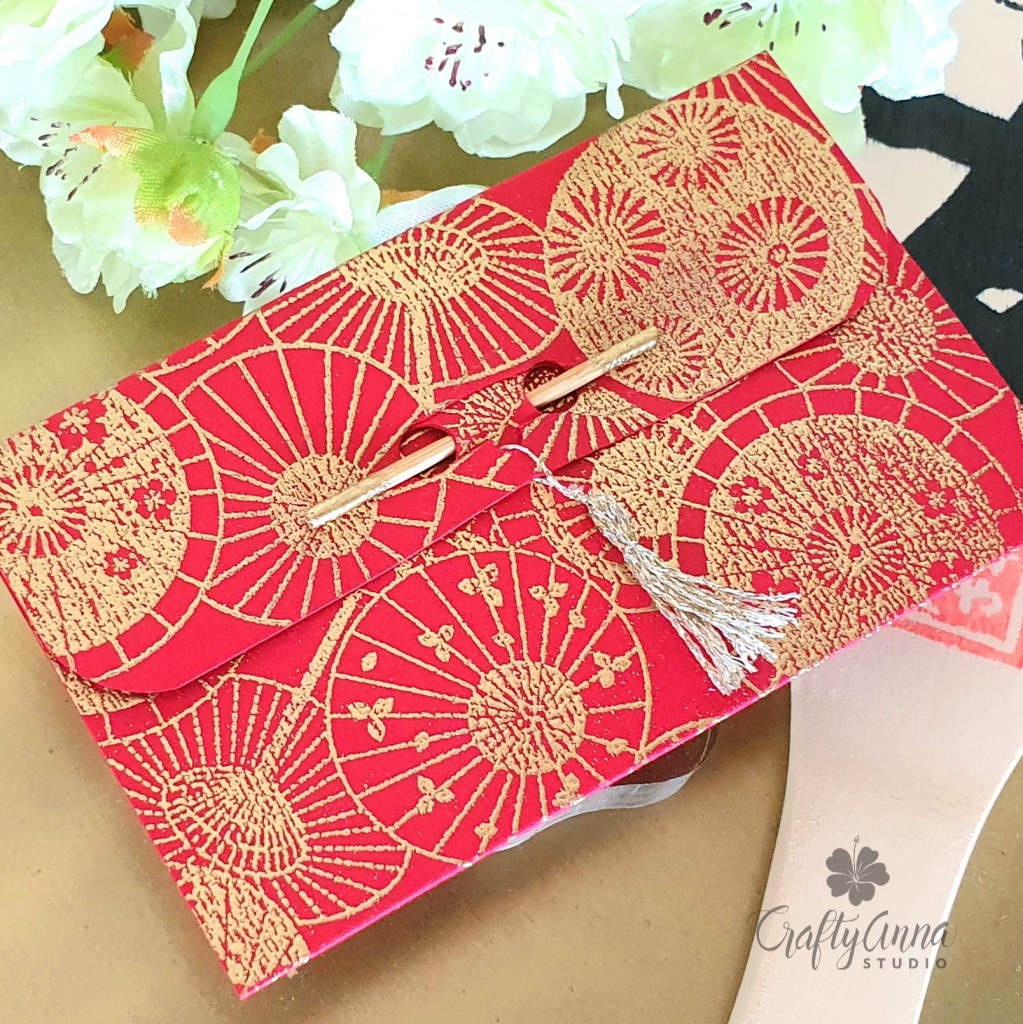
And for the wooden closure, I used a toothpick! I removed the pointy ends but cutting it off, then I swiped both ends on my embossing ink pad then dipped it in gold embossing powder and heat set it.

I am excited to try them out with my origami papers and my Japanese themed cardstocks! Origami papers are usually very thin so I plan to double them up to create some sturdiness.

I am entering this project in the #staycraftywithhero challenge!
I hope this project inspired you! I am so grateful that you are here and taking time out of your day to read my blog.
‘Til next time!
❤️
Anna
Thank you for visiting my blog. I truly appreciate it! You can also find me on Instagram, YouTube, Pinterest and Facebook.
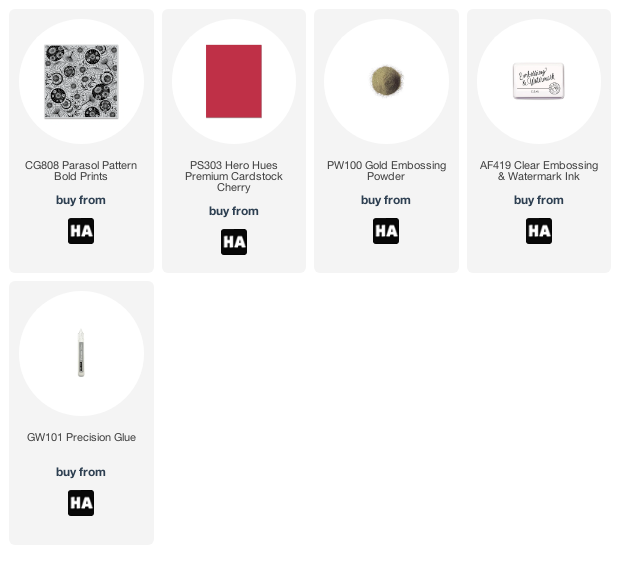
PRODUCTS:
Note: I am affiliated with some online stores including Altenew, Hero Arts, Brutus Monroe, Concord & 9th and Trinity Stamps. If you use any of the links above, I get a small commission from these wonderful shops at no extra cost to you. Thank you for your support!

That is so gorgeous and clever! I love all the thought and details you put into it: from the paper behind the holes to the notch for the tassel! This is perfection!!!!
LikeLike
Thank you so much V! 💕
LikeLike
Beautiful!!! Love this design!!! 😍
LikeLike
Thank you Maria! 💕
LikeLike