

Welcome to another ATSM challenge. I, myself, struggle with CAS cards, you will see that if you follow me at all 😊
So, I challenged myself to create a CAS slimline card. A slimline card is a card that measures approximately 8.5″ X 3.5″ and fits in a standard long business envelope.
Since this card will have a lot of “white space”, I wanted to use an embossing folder to create some texture on the background. So I experimented with the embossing folders I had on hand. I challenge myself to make it fit!
I die cut a card panel using the Trinity Stitched Slimline die. This set has three stitched dies varying sizes as well as panel die with three windows. In case you are interested in checking it out, I have listed it below, as well as other slimline card elements.
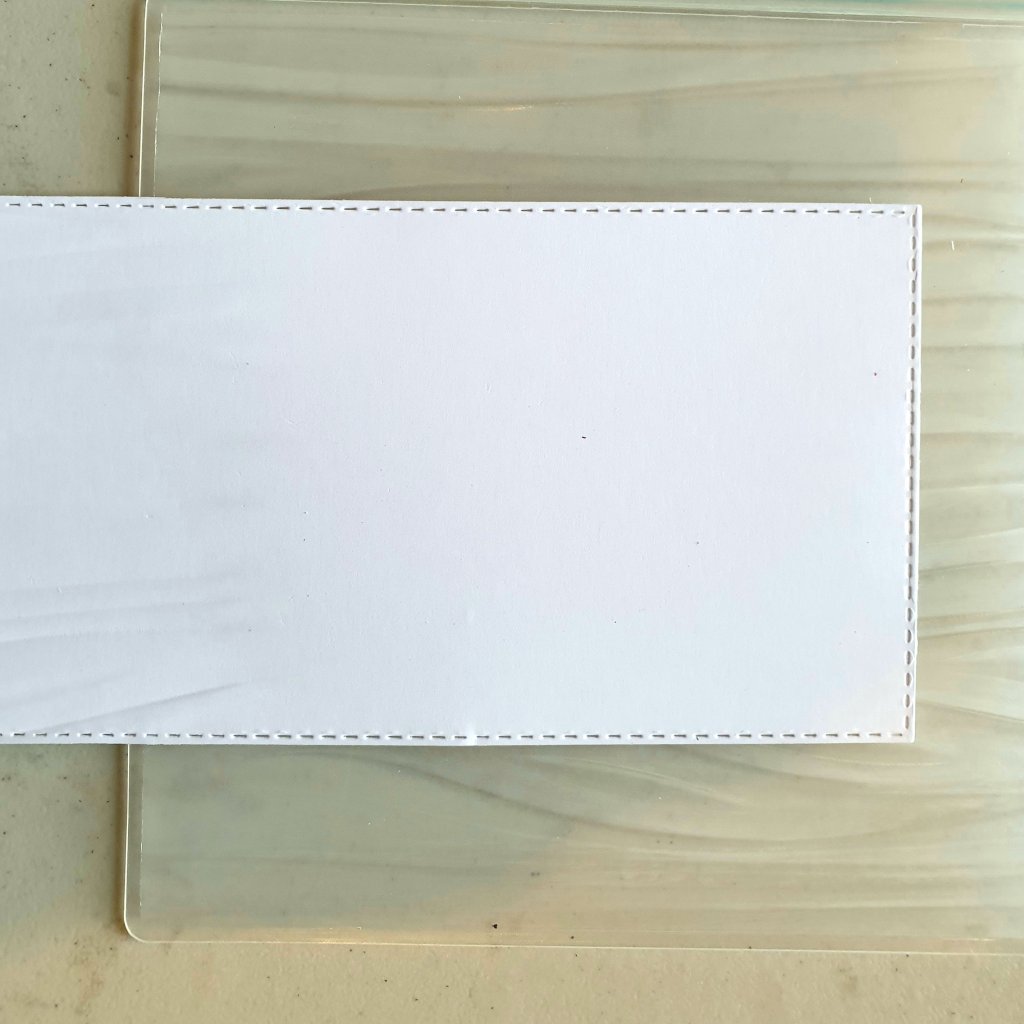
To emboss my panel, first I put the stitched card base into the embossing folder. You will see in the photo below that half of it is sticking out..that’s OK. I then I run it through the die cut machine set to the sandwich of how I would use an embossing folder. Then I laid the folder with the edge of the paper facing the machine. Then I run it through the machine BUT stopped turning the handle before I reached the other end of the embossing folder.

I then reversed the turn of the handle of the embossing machine and removed the folder. If I had run it all the way through, the edge of the folder would emboss onto the paper creating an unsightly vertical crease.
To embossed the other side, I flipped the paper to the other side, lining up as best I could. Then proceeded to do the same.. stopping the turn of the handle before reaching the other end of the embossing folder.
This works best with folders that have irregular designs, but you can try also with those they have regular patterns if you are confident in lining up the pattern.

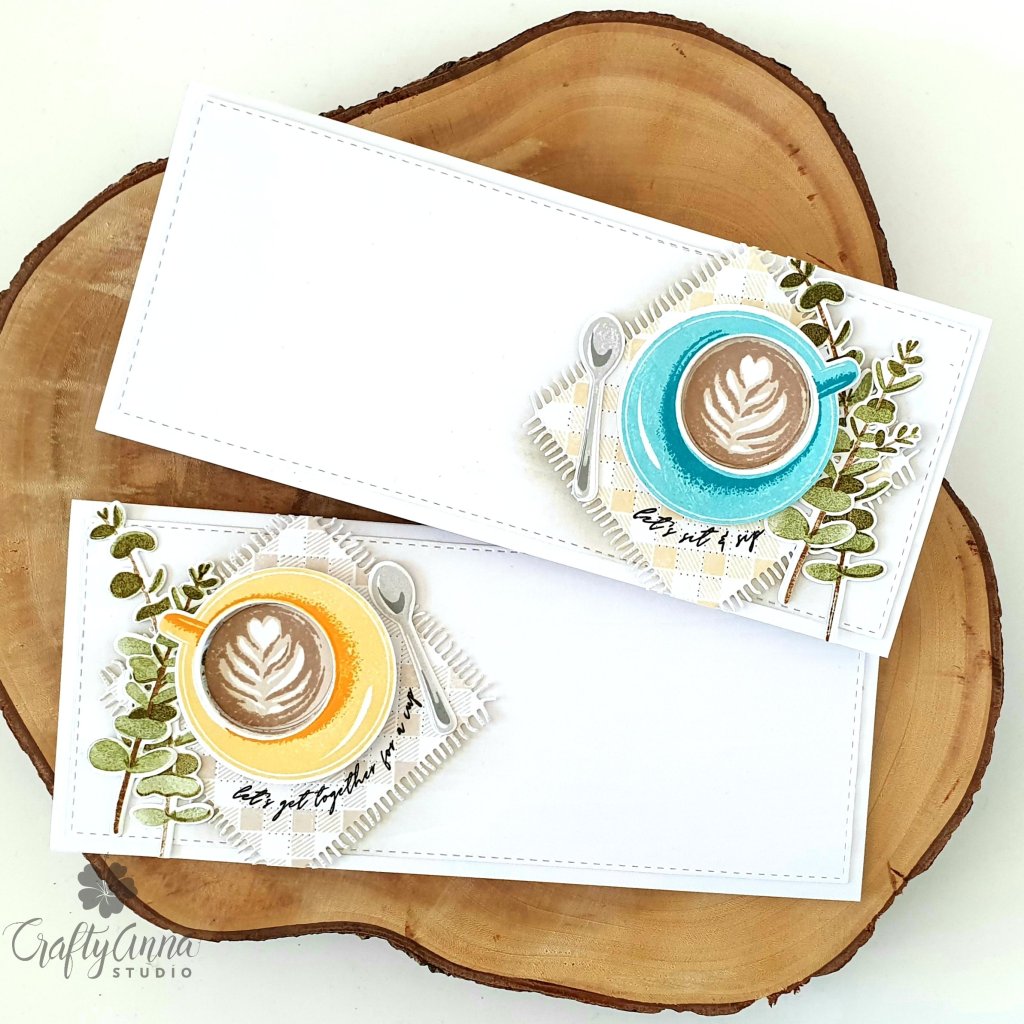
I used these embossed slimline panels as a backdrop to my card inspirations .
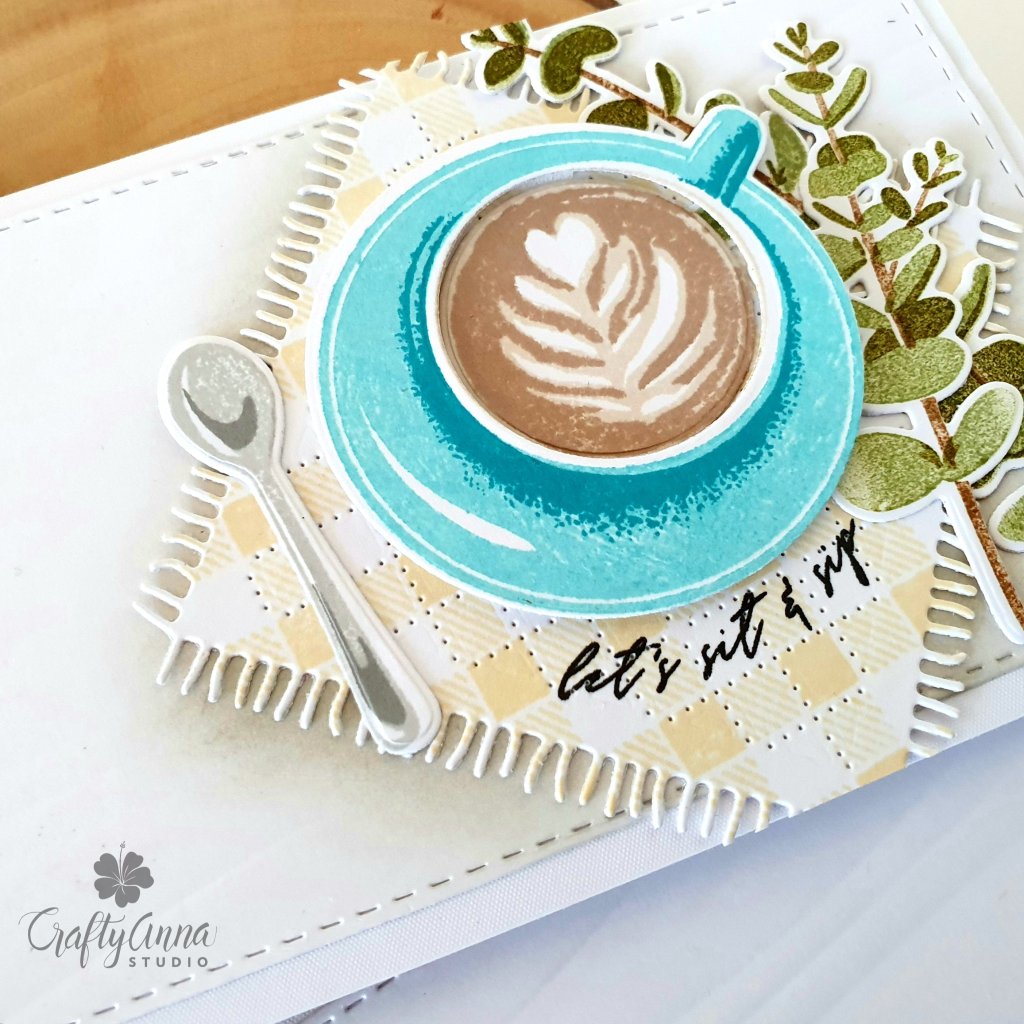
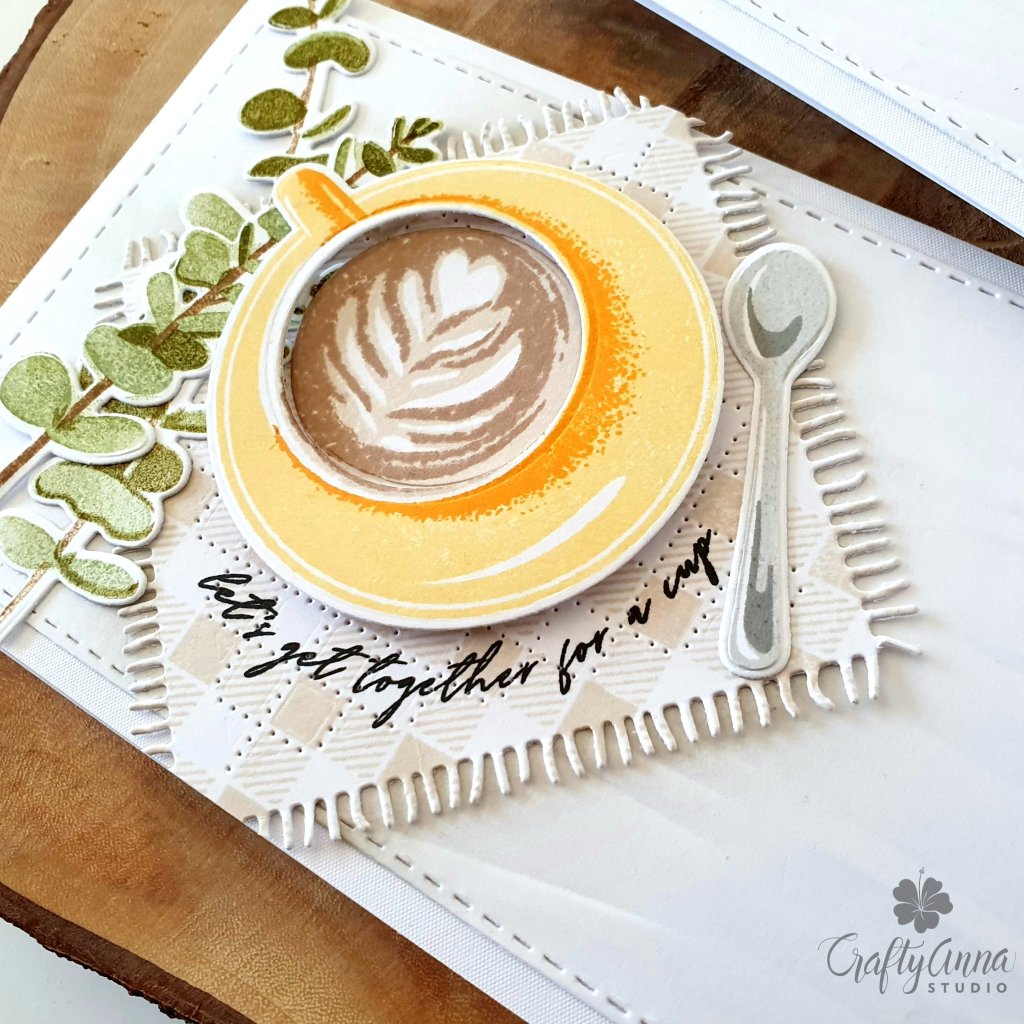
I used The Greetery Cozy Cup, Simple Things stamp set and Cozy Cup Coaster die as the design elements on my card.
Hope you learned something new! See you over at the ATSM CAS challenge!
‘Til next time!
❤️
Anna
Thank you for visiting my blog. I truly appreciate it! You can also find me on Instagram, YouTube, Pinterest and Facebook.
Materials used:
Note: I am affiliated with some online stores including Altenew, Concord & 9th and Hero Arts. If you use any of the links above, I get a small commission from these wonderful shops at no extra cost to you. Thank you for your support!

Oh, My … Wow.. This is a gorgeous design.. Love the overall color pallet and theme.
LikeLike
Thank you! 💕
LikeLike
Oh, My … Wow … This is a gorgeous card and design. Love the colour pallet and theme.
LikeLike
Thanks for sharing! I have not made any slimline cards but have been seeing more and more of them! Thanks for the great tips!
LikeLike
You’re welcome! I’ve been seeing them a lot too.. So decided to give it a go.. There’s definitely a learning curve but I’m always up for the challenge 😊
LikeLike
I LOVE these so much!
LikeLike
Thank you!! You made my day 💕😊
LikeLike
Hello, Anna,
your card is lovely! I adore the coaster and the cup!
Hugs,
Mariangela 🙂
LikeLike
Thank you 💕
LikeLike
Gorgeous cards! Well done with the CAS slimline – looks amazing! May I ask which brand the eucalyptus is from?
LikeLiked by 1 person
Thank you! The eucalyptus is from The Greetery from the stamp set called Simple Things. 😊
LikeLike
Beautiful cards! Do you happen to know what brand and colors of ink you used for the cups and coffee? Thank you for the inspiration!
LikeLiked by 1 person
Hi Elaine! I would love to share those with you. For the coffee cups, I used Altenew Inks – Sunray & Snapdragon for the yellow cup. Dewdrop & Teal Cave for the blue cup and Sand Dunes & Mocha for the coffee. Silver lake & Cloudy Night for the spoons. For the Eucalyptus leaves I used Distress Oxide Inks in Bundled Sage and Peeled Paint.
LikeLike
Hi Anna,
Gorgeous, gorgeous, gorgeous! Wow. I am totally new to this. It looks so 3 dimensional from thr photos. Are those all separate pieces?
LikeLiked by 1 person
Hi Meredith! Thank you so much for your kind compliment! They are all separate pieces layered together 😊
LikeLike
Hi Anna,
Gorgeous, gorgeous, gorgeous! Wow. I am totally new to this. I see the materials used. It looks so 3 dimensional.
LikeLike
Thanks for the idea of how to use the many embossing folders I already have, (there are many) lol. This is so much better than buying more, thanks again.
LikeLike
You’re welcome! 💕
LikeLike
Lovely cards! How did you get the solid and stripe squares on the cozy cup coaster?
LikeLike
Thank you Dawn! The solid & stripes are from an old Simon Says stamp set that just happened to fit the coaster perfectly!
LikeLike
Wow…so lucky to have it be just the right size! I would love to know the name of the set so I can search to see if anyone is selling it online (if it is no longer available from SSS). It would be a great addition to my cozy cup set, which is definitely one of my favorites!
LikeLike
The stamp set was from a Simon says stamp card kit from March 2018 called Choose Joy. Hope you find it! 💕
LikeLike