

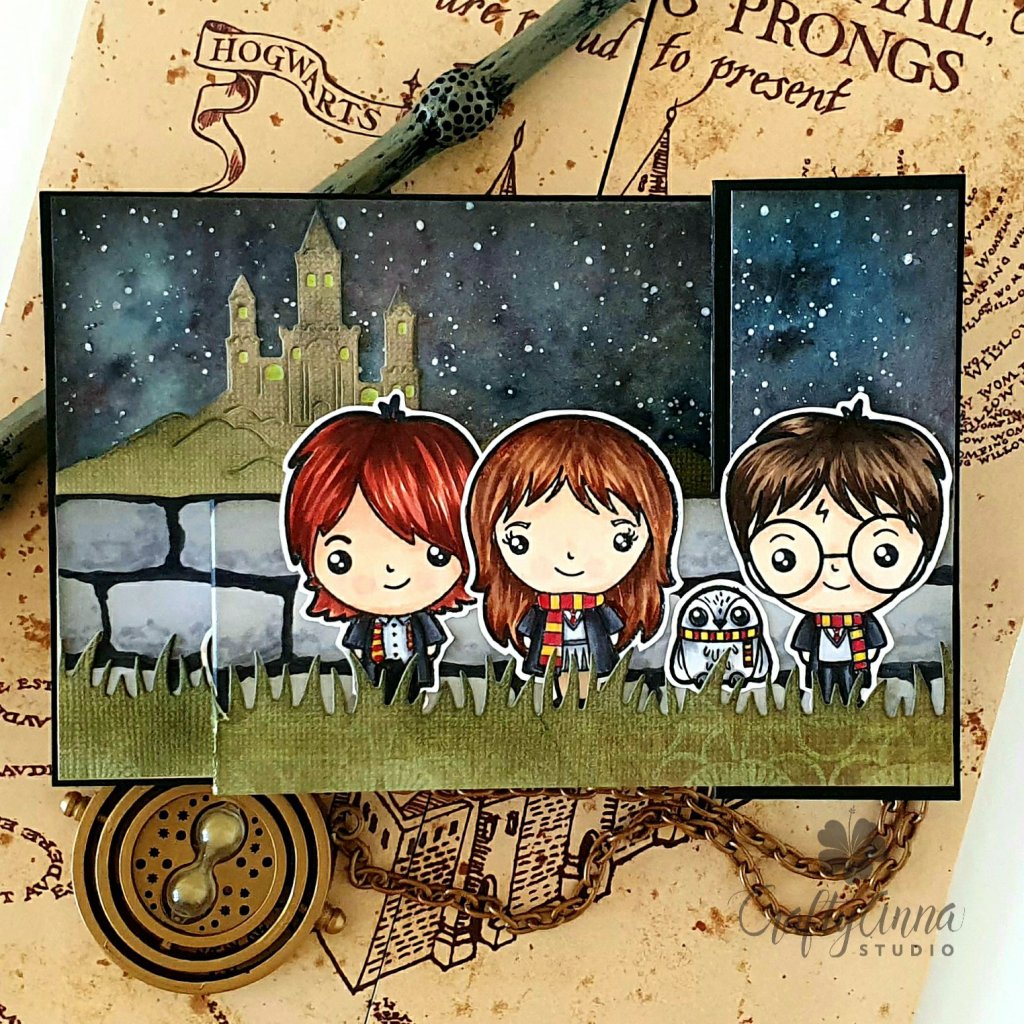
Welcome to another Papercraft Business Challenge! This month it’s all about Masculine Birthday Cards or Birthday Cards for Boys. The inspiration for this challenge is an interactive card using stamps from The Sassy Club. My nephew is turning 12 years old next month and he is a HUGE fan of Harry Potter. So I decided to make a “magical” wiper card for him using HP inspired stamps.
There were several tutorials on YouTube on how to make a wiper card but I found one that was easy to follow and that was perfect for the scene I wanted to create. I will link it here. Check her (TDM Smith) out and subscribe for interactive card tutorials.
I tweaked the dimensions a little to fit my scene. You can use my dimensions if you are interested to recreate my card.
I cut one panel out of black cardstock measuring 4 1/2″ X 8″. Scored at 5 1/2″ and 6 1/2″. This is the card base. Then I cut another panel at 2″ X 8″ and scored at 1 3/4″ and 2 3/4″. This serves as the base where the “wiper” mechanism is attached.
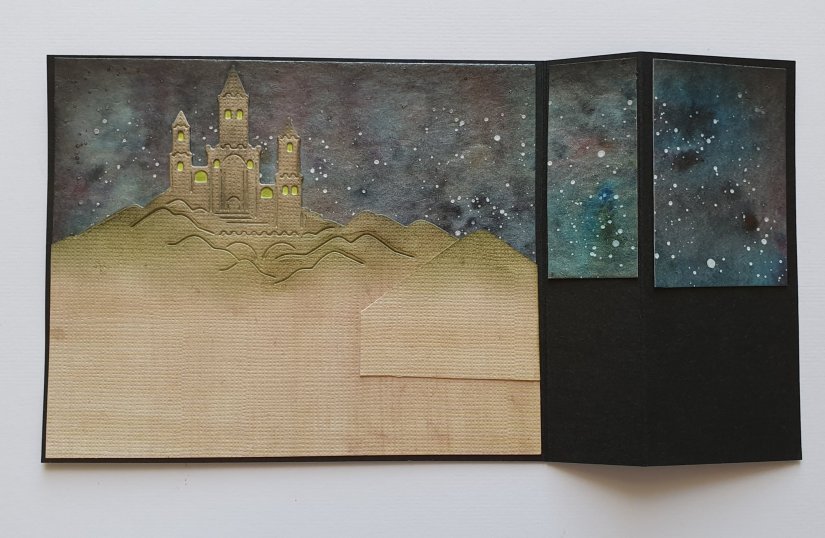
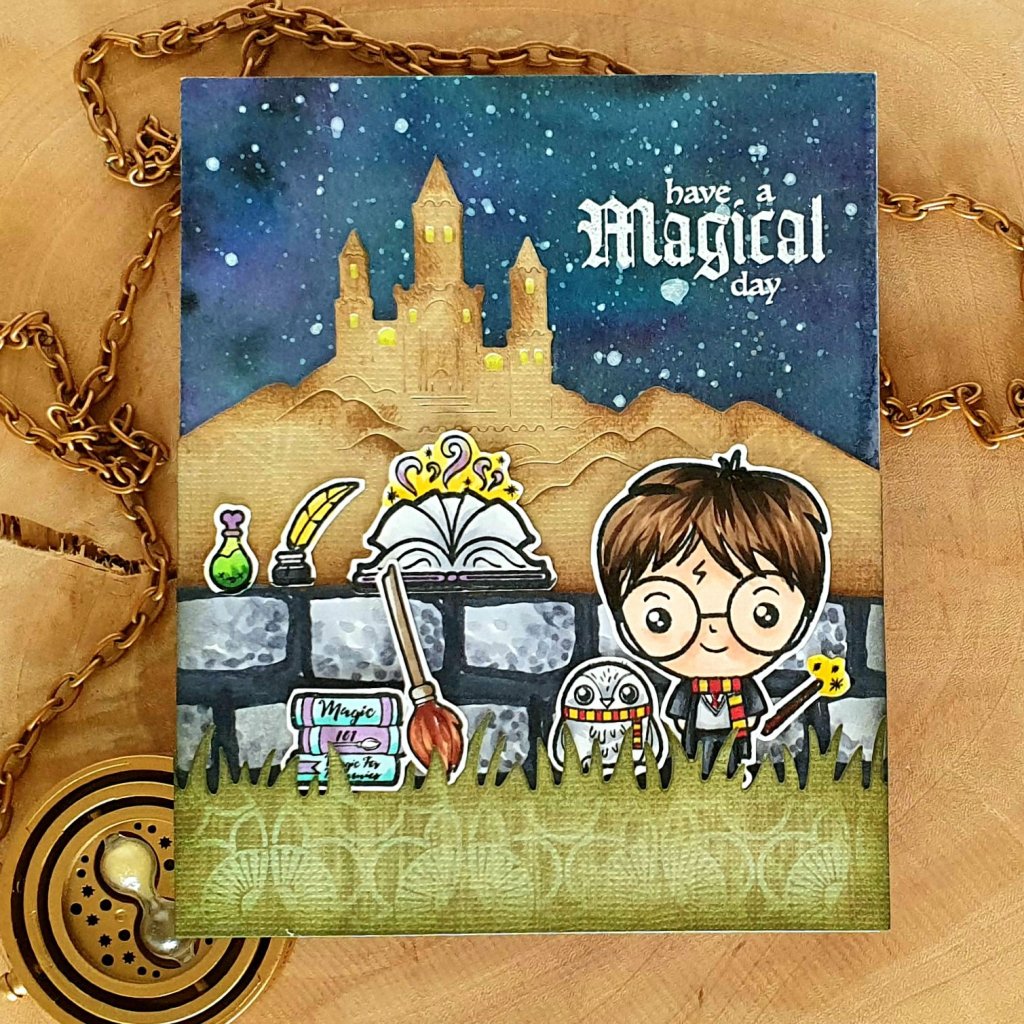
Then I proceeded to color a stone wall across the narrow panel. I also created a galaxy background which will serve as the backdrop. I die-cut a castle from the My Monthly Hero August 2019 kit out of pattern paper. I also used a Lawn Fawn Grassy Border die to cut the grass for the foreground of the card which I adhered to the bottom of the stone wall. I ink blended all my panel elements with Distress Inks. Then I assembled all the elements separately before adhering it together.
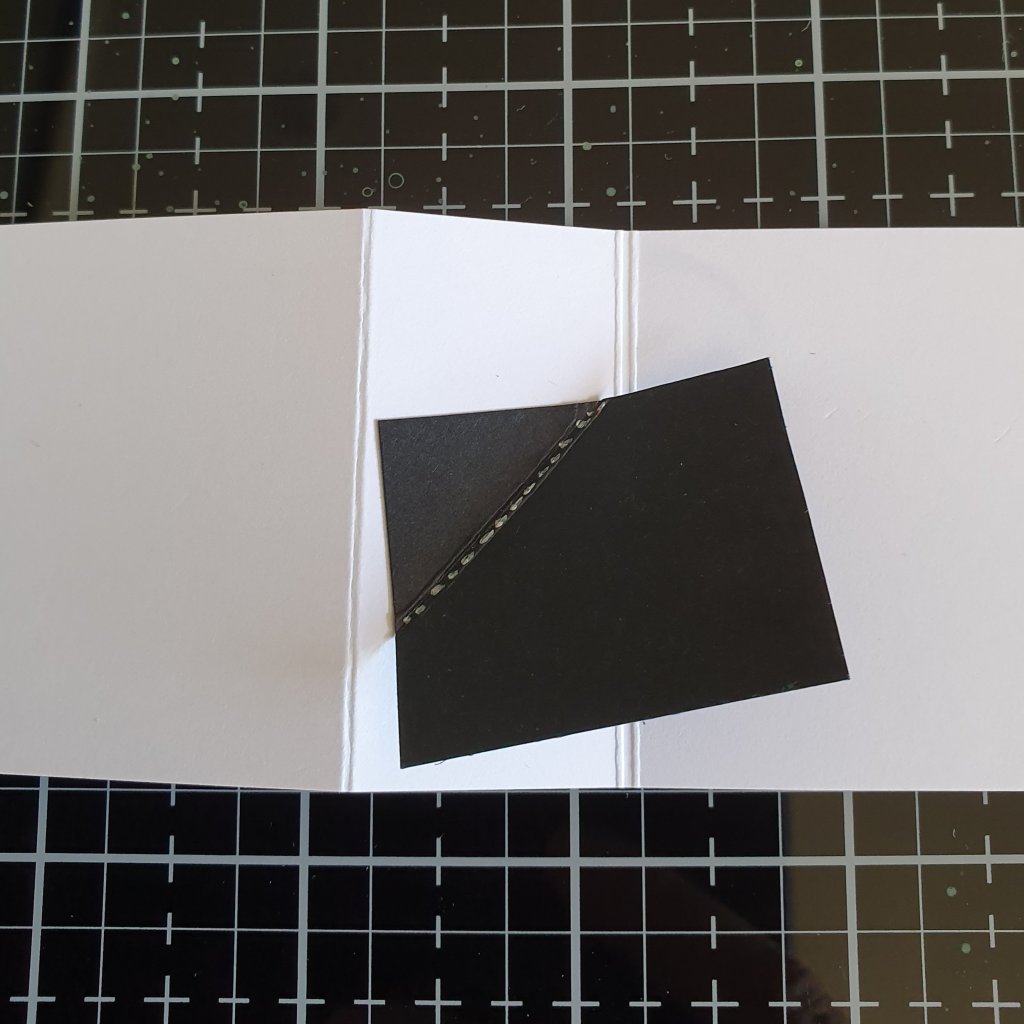
For the wiper mechanism, I cut a piece of black cardstock measuring 1 1/2″ X 1 1/4″. I then marked 7/8″ on either corner of the piece and scored it forming a small triangle. Then I flipped the long base over and attached the “wiper” mechanism by folding it along the triangle score line. I glued it onto the long card base with the shorter side up along the edge of the panel by applying glue only on the folded triangular section. See photo.
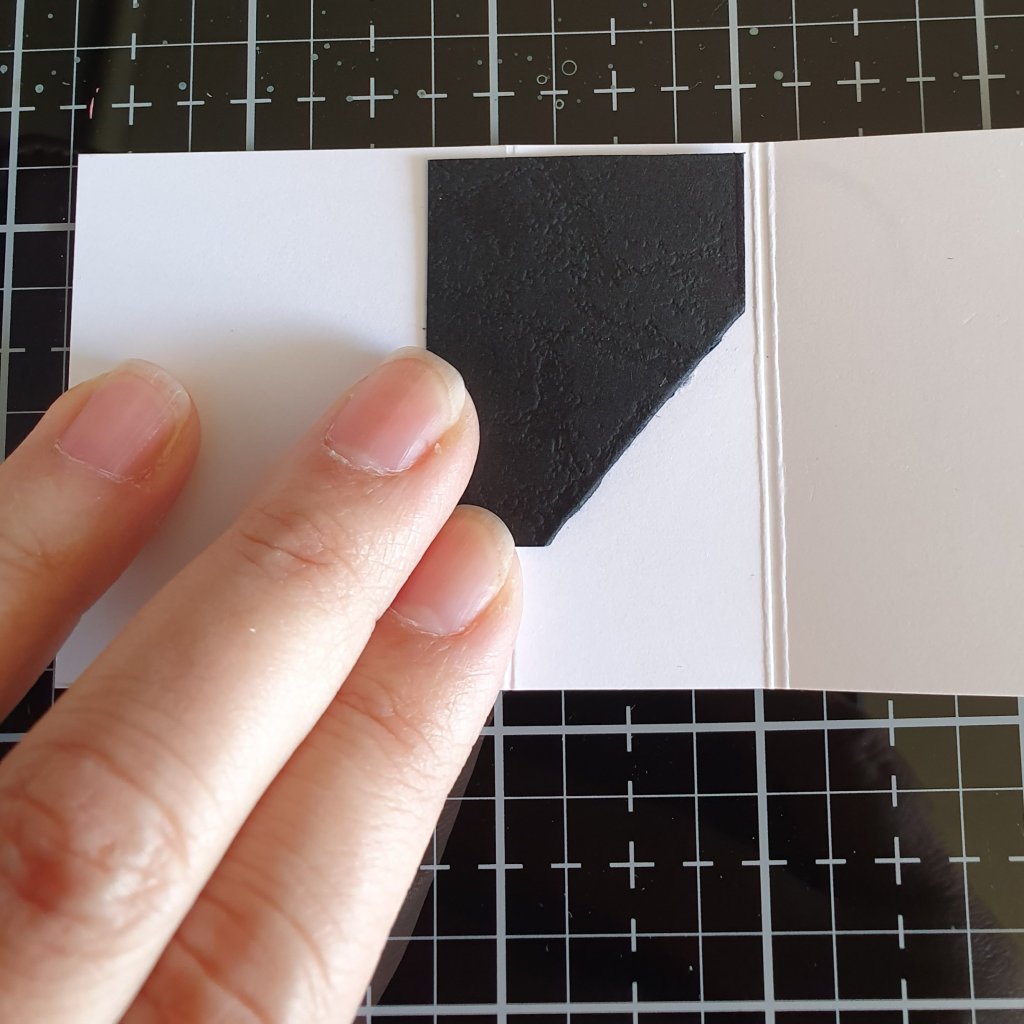
It should look like this when opened up.
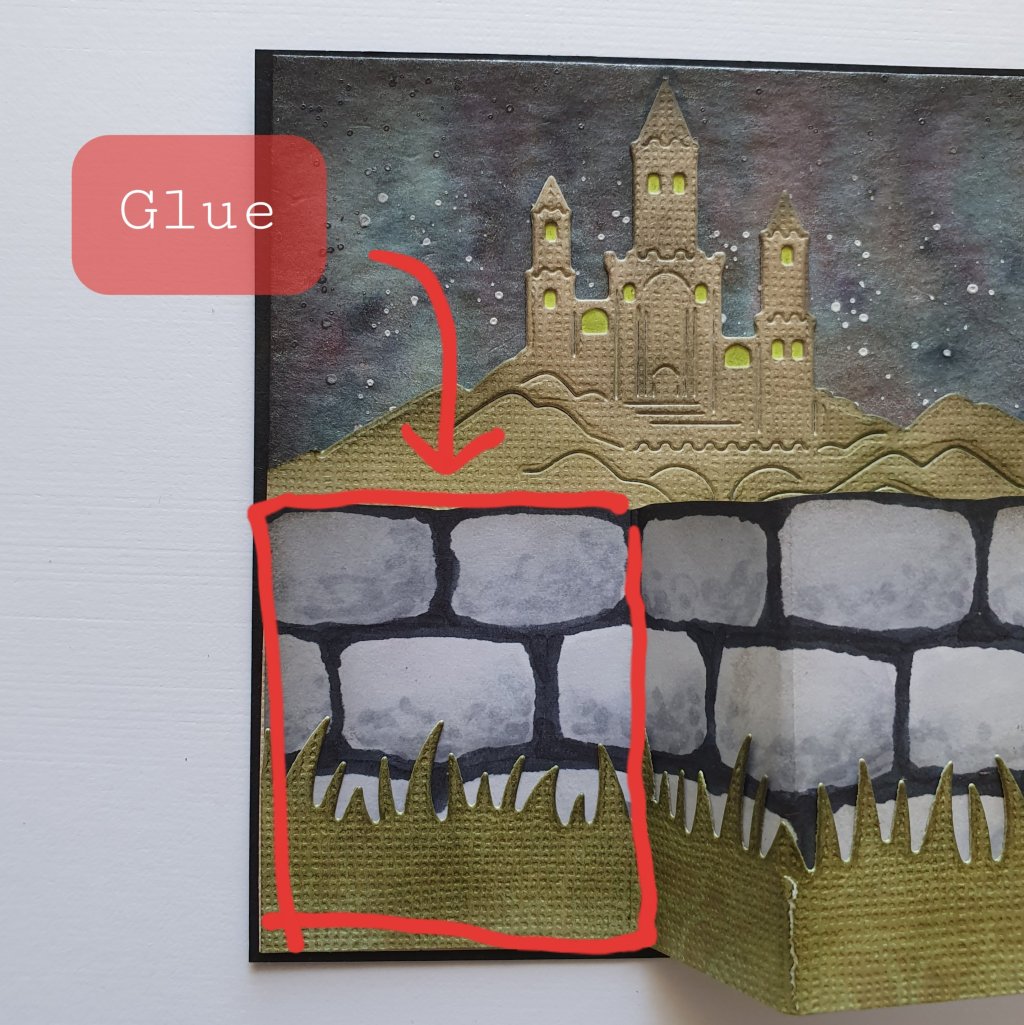
Then I flipped the base over and attach it to the left side of the main panel only in the area indicated in the photo below.
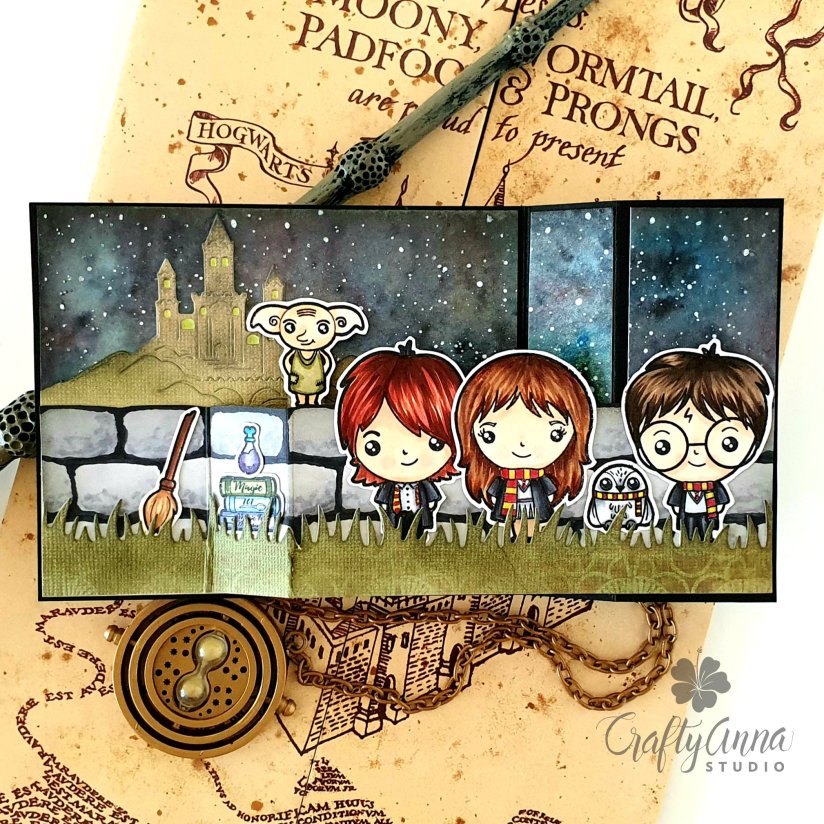
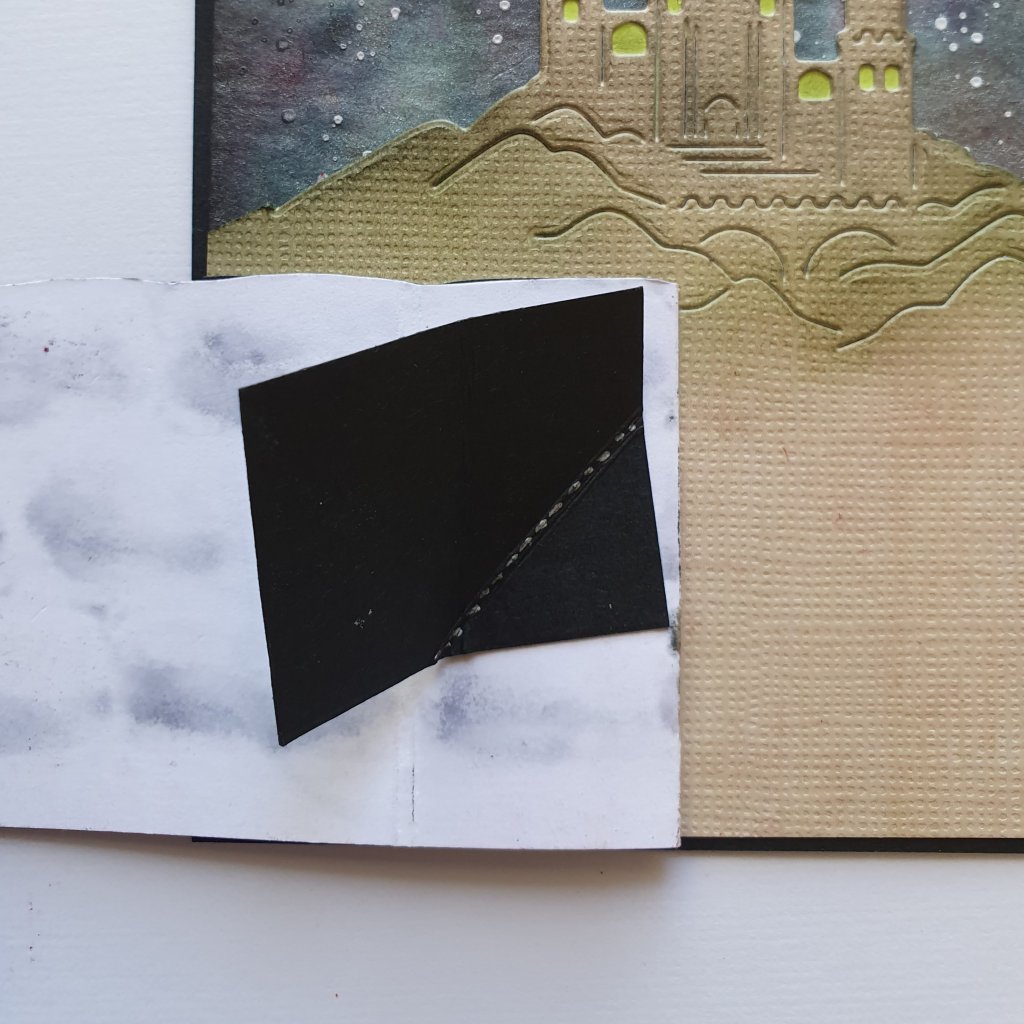
Flip open the base to reveal the wiper element.
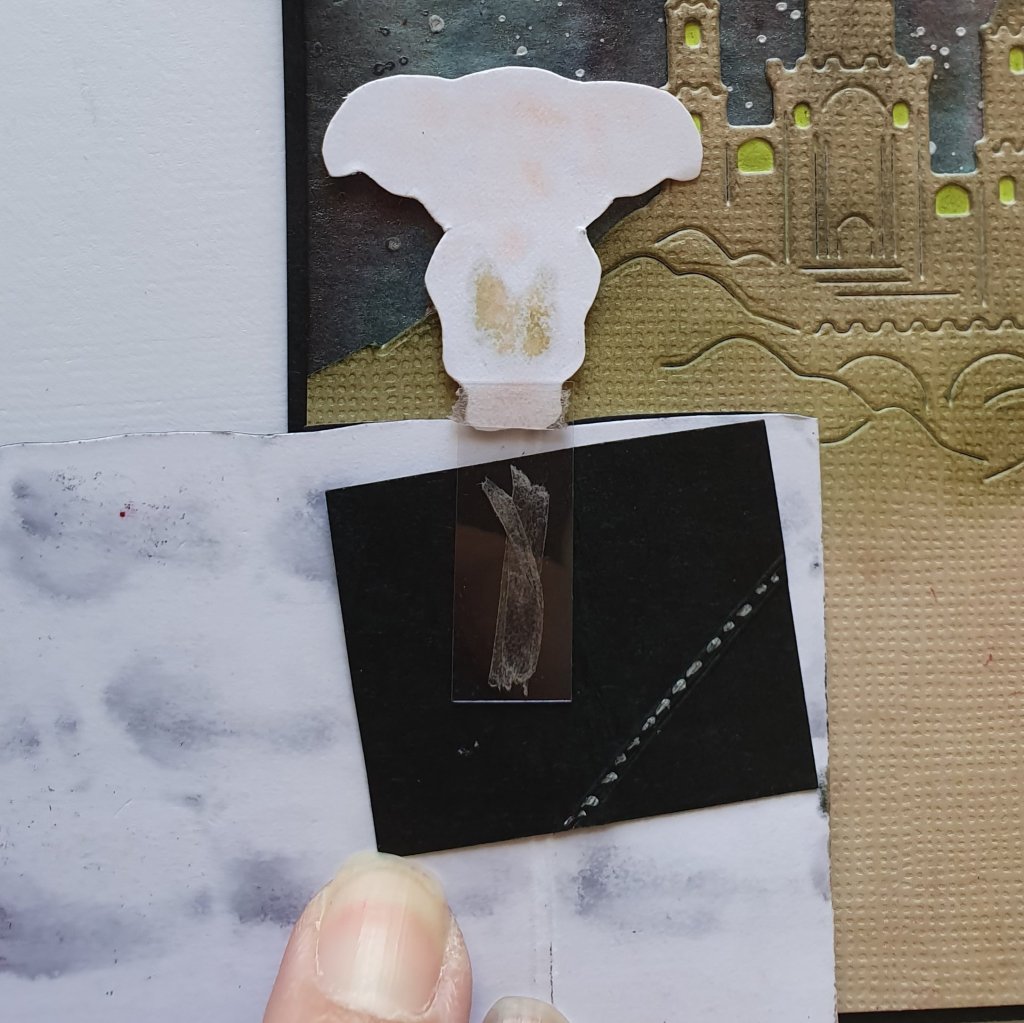
Then attach your element. I used a sturdy piece of clear acetate to Dobby’s backside and aligned his feet to the top of the stone wall.
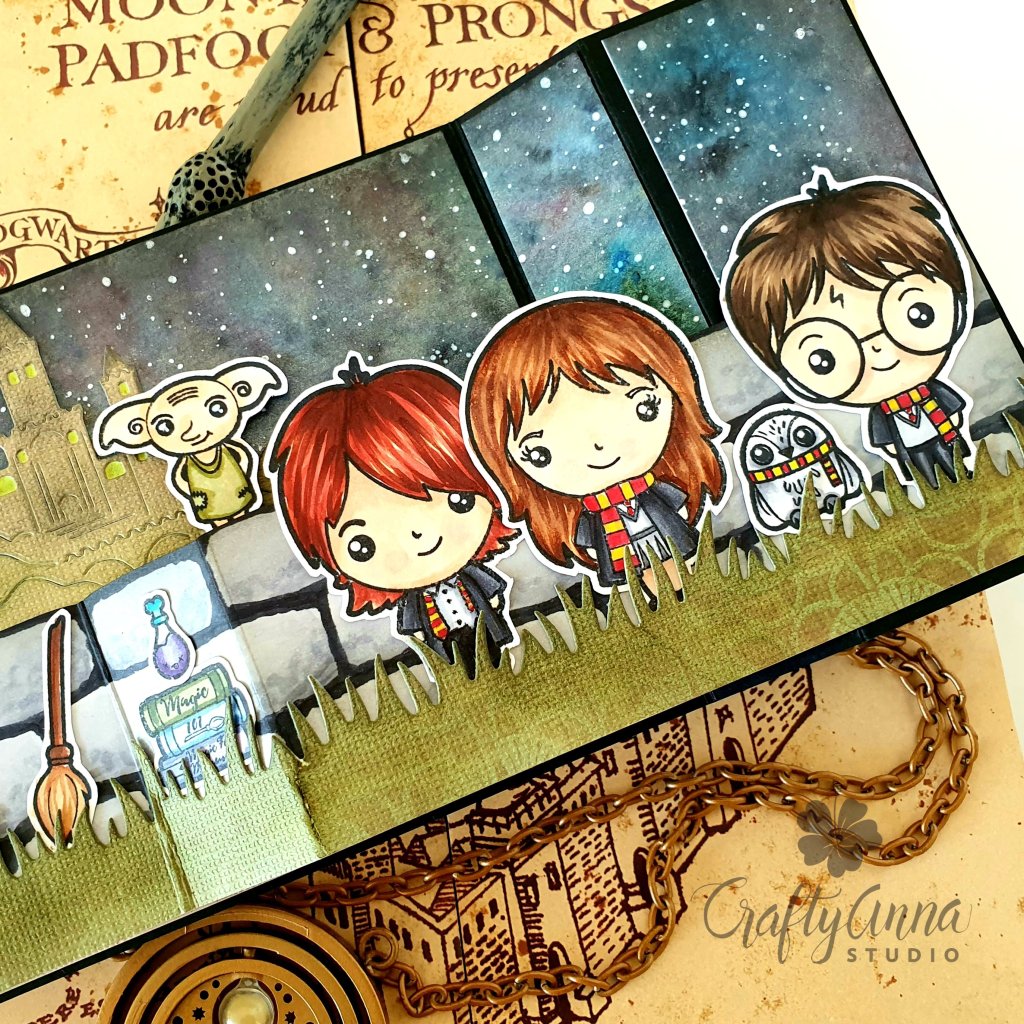
After attaching Dobby, I applied glue to the right side of the panel and adhered it down flat. Then I arranged and glued down all my character elements.

I used a white panel for the back side of the card and attached the other HP inspired characters and elements from the stamp set. If you are interested in the copic colors I used for the HP characters, I’ve listed them below. I also stamped the word “Magical” from the stamp set and wrote “Have a” and “Birthday!” by hand.
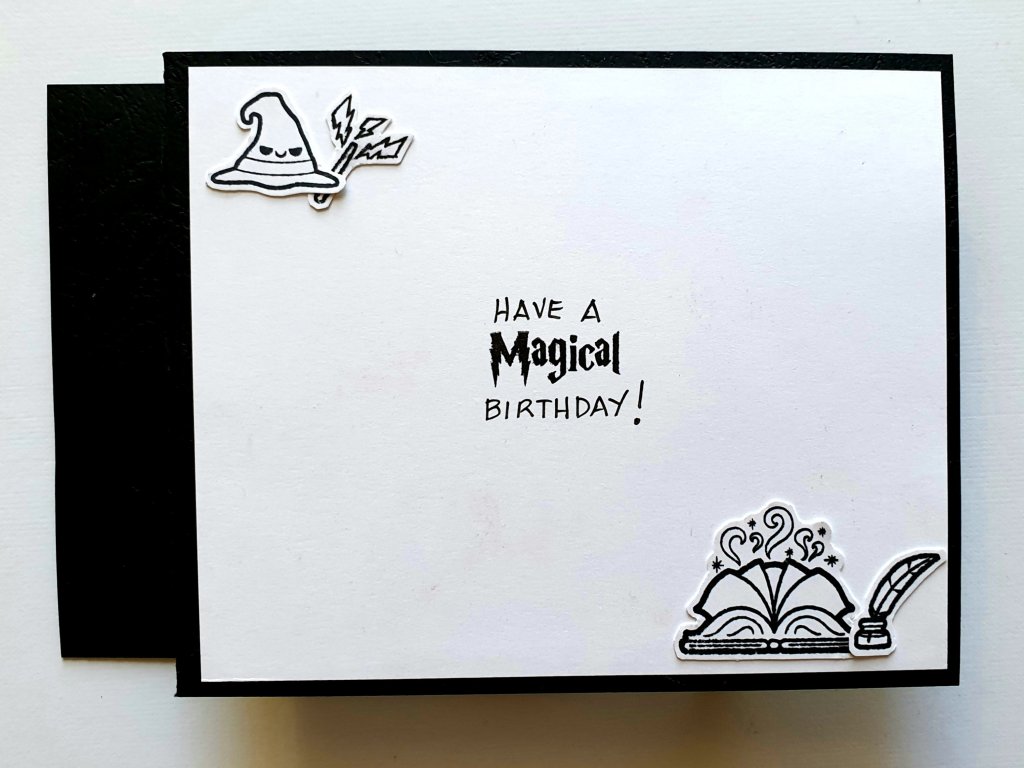
Here is a close-up of my card.
If you are interested in purchasing these adorable HP inspired stamp sets, you can check them out here .
I had so much fun creating this wiper card!
I made another card with the left over galaxy background I made.
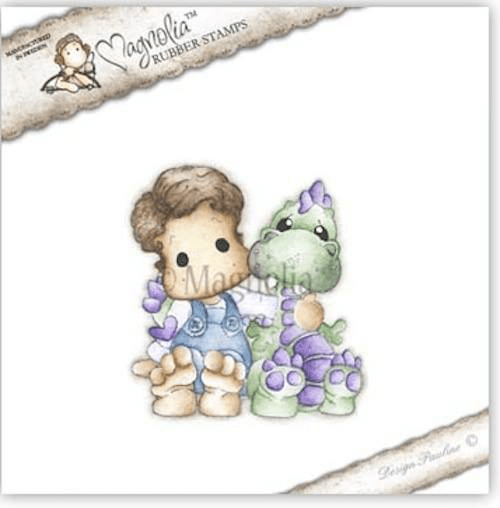
I hope to see at the Papercraft Business Challenge! I can hardly wait to see what you create for our theme this month: Masculine cards or Cards for Boys. You just might win this Edwin with Teo Dragon from Magnolia Stamps.
If you enjoy joining challenges, Papercraft Business has created a special planner to help you keep track of your challenges and to help you not miss out on important dates. You can check out the planner here.
‘Til next time!
❤️
Anna
Copic Colors used for the HP Characters:
For the Hair: Hermoine: E50, E53, E57 & E29; Harry: E50, E43, E44 & E49; Ron: E02, E07, E18 & E19
Skin Tone: E00, E02, E11 & R20 (for the cheeks)
Clothes: Scarf: R29 & Y18; Robe & Pants: C9, C7 & C5; Shirt & Skirt: C3 & C1
Dobby: E00 & YR00

So cute! I’m going to have to give this a try! Thanks for sharing!
LikeLike
Thank you! 💕
LikeLiked by 1 person