Hi everyone! My newest obsession is painting with gouache. I recently saw a reels video of a person painting a cactus with goauche and I really loved the unique qualities of the paint. It’s somewhere in between watercolors and acrylics, and has a matte finish when dry, which I really loved!
But I am still practicing and I wanted to create patterns but had no idea how to start. Then I had an idea, why not use layering stencils to create beautiful patterns and practice gouache painting at the same time! The Hero Arts Color Layering Stencil was perfect for this!

First, I took some cheap gouache I bought off amazon called HIMI and mixed colors to form my color palette. I used four different colors for the flowers: Yellow, Pink, Lavender & Orange and two different greens, a light and a dark green.
Then I used a pencil to trace out stencil #1 & 2 on a piece of heavyweight watercolor paper. I painted in the flowers first, then the leaves. Then I used stencil #3 & 4 to trace out the details and then painted them in.

It looked a little blah so I decided to add more detail with white goauche for the flowers and additional details for the leaves- just winging it, of course!

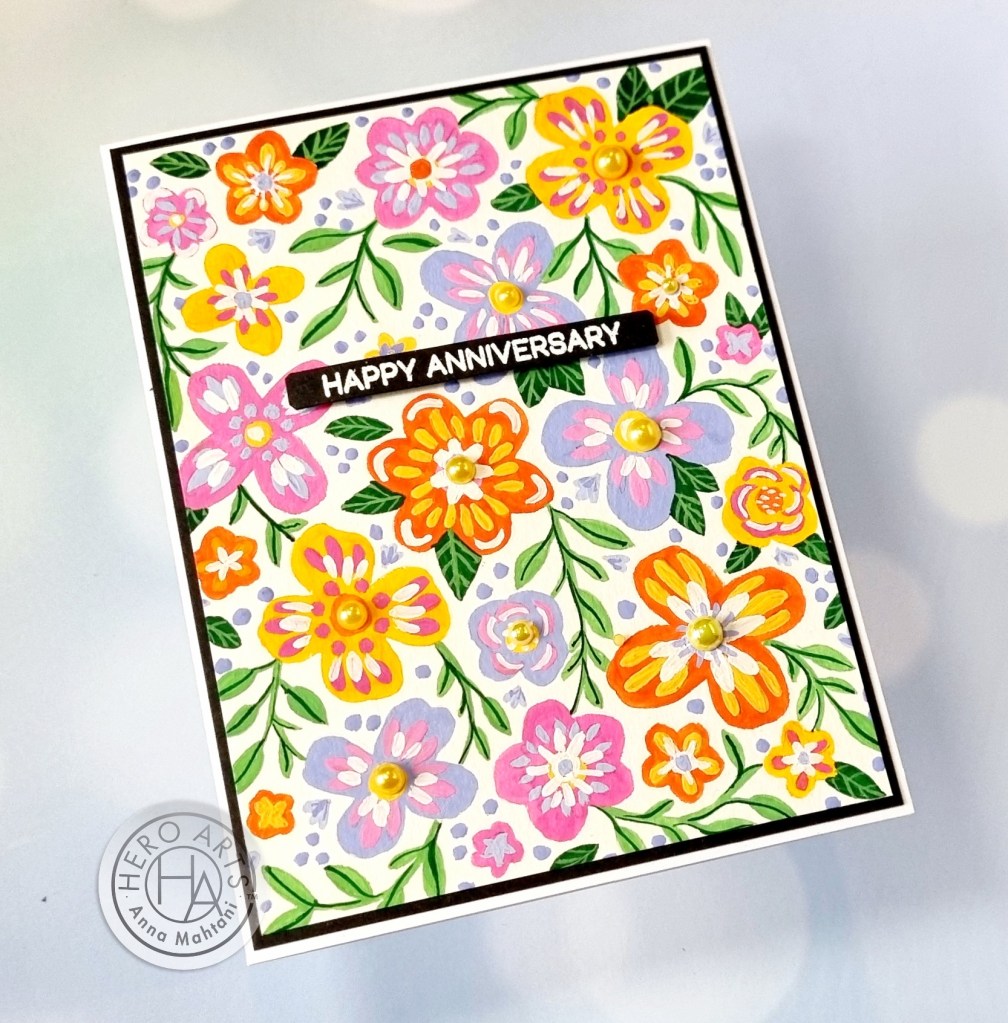
I just love how it turned out, I didnt want to cut it up!! So I trimmed the sides a little, added a white on black heat embossed sentiment “Happy Anniversary” which is from the Everyday Sentiment Strips stamp and die set.
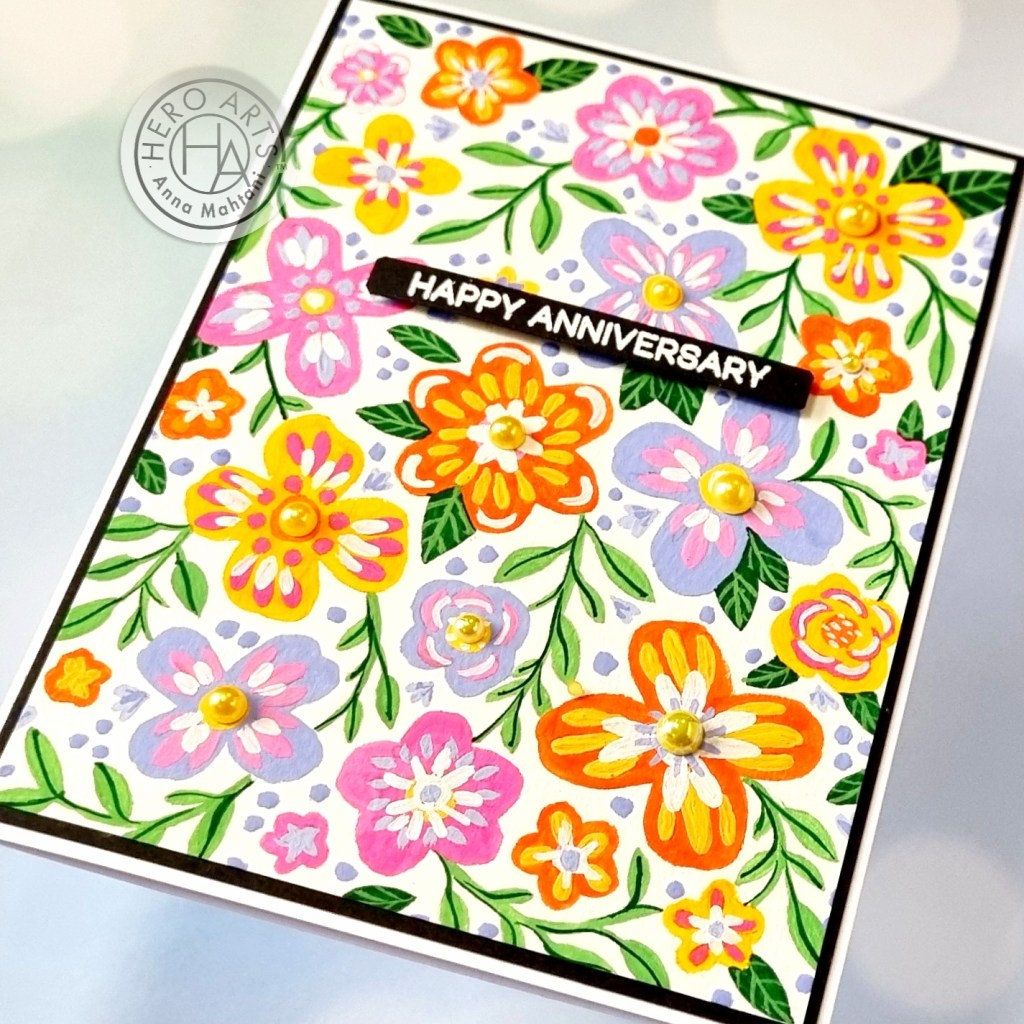
I then matted it with black cardstock just to make it stand out a little. I also added a few flat-back yellow pearls for some bling!
For my second card, I decided to step the painting up just a bit! I mixed my color palette but this time decided to color in the background. It was painstaking at first but then quickly got into the zone and it was quite therapeutic in the end. This is how it turned out.

I then decided to die cut it using the Tea Kettle Fancy Dies. It was a hard decision because if it turned out awful in the end, I would just cry – hehe

I also used the stencil to trace out one flower, painted it in, added details and die cut it using the teacup die that in included in the Tea Kettle die set.

After die cutting all the elements for the tea kettle and tea cup, I added gold acrylic paint details. I used acrylic paint because I was afraid that if I used metallic watercolor it would activate the gouache.
I added additional dimension at the back of each element by offsetting with black.

For the backdrop of the tea kettle, I used this must-have Hero transfer sheets called Collage Backgrounds Hero Transfer Set, such a quick and easy way to add wonderful collage elements to your projects! I chose the scripty one which is my absolute favorite of the bunch!
I added vellum on top of the scripty background just to mute it a bit before adding the tea kettle and the cup. Then added it to a 4 1/4″ X 5.5″ panel of Hero Hues Peacock cardstock.

Of course I didn’t let the rest of the painted goauche pattern go to waste! I used it to make a matching tag.

I used the Infinity Tag die set to die cut it out and I also a piece of vellum to put on top. I also die cut another tea cup but this time using the scripty hero transfers. I then added gold details to the cup and the tag as well and finished it off with twine.

I hope you were inspired by my projects. Don’t forget to hop on over to instagram to join our Hero Arts Global team instagram hop linked here for a cance to win a $25 gift certificate to the Hero Arts online store. Ends on April 30. See you there!
In the meantime, have a wonderful crafty day!
’til next time!
Anna
Product List: