

Hi everyone! I’m back with a mid-month inspiration for our A Blog Named Hero challenge. Our theme this month is Glitz! My project today is inspired by a recent class I took at Holiday Workshop over at Online Card Classes where the talented Caly Person taught us how to make an infinity shaker card. I took that idea and decided to make an infinity shaker tag!

First I took a large piece of Dove white cardstock and created an ink-blended background with Hero Hues Reactive Ink. I started with Pool Party, then Splash and then Blue Hawaii. These colors are from the Hero Hues Sea Mini Ink cube collection. I plan to heat emboss on top of this background so I did not worry that the it looked a little splotchy. In fact, that was the effect I was going for!
After Ink blending, I took a spray bottle filled with water and perfect pearls and gave the panel a light mist, then dabbed it with a paper towel.

Then I took the Argyle Bold Prints cling stamp and placed it on my glass mat, rubber side up. I inked it generously with Unicorn pigment ink, placed the ink blended panel on top, pressed it firmly making sure to transfer all the ink. I then sprinkled it with Sparkle Embossing powder and heat set it.
I then took the panel to the trimmer and cut two panels measuring 2.5″X 4.5″. I then trimmed the top corners at an angle to make a tag shape. I also punch a whole at the top. Hero Arts has an Infinity Tag die set that makes this so much easier.
To create the infinity shaker, I took a piece of plastic packaging and cut it to a size that is larger than the tag, about half an inch larger on all sides. Then I took a craft knife and a cutting mat and cut out notches at the corners while holding the tag firmly.

After I notched out the plastic, I used glue tape runner to adhere the tabs on all sides with the exception of the bottom. I added shaker bits before sealing it up. The snowflake sequins I added are from the Snow & Berry Sequin Mix and added some itty bitty silver stars for that extra glitz!

As for the cute girl, I used the Hero Lifestyles Forms and dressed her up with the Lifestyles Winter Accessories add-on. I stamped her face using Intens-ified black ink from the Hero Lifestyle faces stamp set. Her outfit is inkblended with same colors as the background except for the ear muff and pants, that was ink blended using Taffy Reactive ink. I used a sparkle pen to add more sparkle to her ear muffs and boots. I used a white gel pen to add laces to her boots and to color in the Christmas Tree design on her sweater before I added more sparkle and dimension with a Sparkle Clear Lacquer Pen. Then I used white embossing powder on an ink blended background for the “Warm Wishes” sentiment which came from the Christmas Holidays Stamp & Cut XL set.

I also stamped “To”, “From” and “Season’s Greetings” at the back as well as ink blended and stamped the top and the bottom. Then I added a coordinating ribbon accented with a silver ribbon.
I hope my project inspired you to give this infinity tag a try! Be sure to tag us @ablognamedhero over in Instagram and use the hashtag #abnhnovemberchallenge. Hero Arts has so generously provided prizes! If you do decide to make a tag, you can also join Hero Arts Stay Crafty Challenge #29!

‘Til next time!
❤️
Anna
Thank you for visiting my blog. You can also find me on Instagram, YouTube, Pinterest and Facebook.
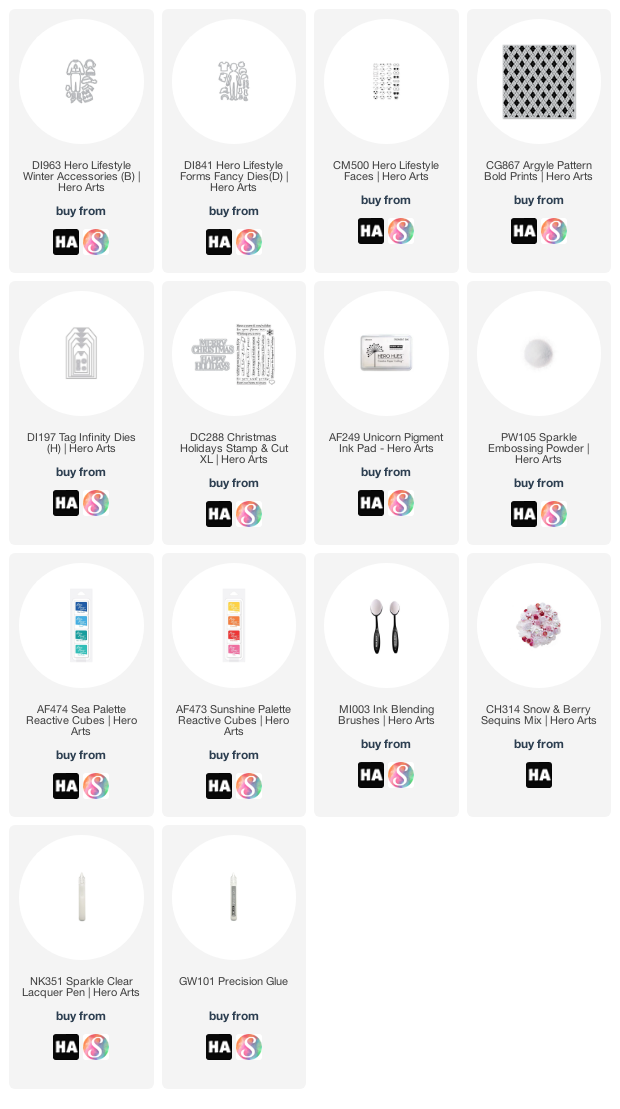
Product List:
Note: I am affiliated with some online stores including Altenew, Hero Arts, Concord & 9th, Scrapbook.com and Trinity Stamps. If you use any of the links above, I get a small commission from these wonderful shops at no extra cost to you. Thank you so very much for your support! I truly appreciate it!
