

Hi everyone! Last April 10, 2021, was my first ever virtual cardmaking class for the Altenew Educator’s Certification Program. This was the final requirement for the certification. This blog post is to document my process of planning and teaching the workshop.
TWO MONTHS BEFORE CLASS:
I submitted a Lesson Plan to the AECP coordinators of Altenew, Virginia and Erum with the following information:
Name of Workshop: Let’s Get Inky!
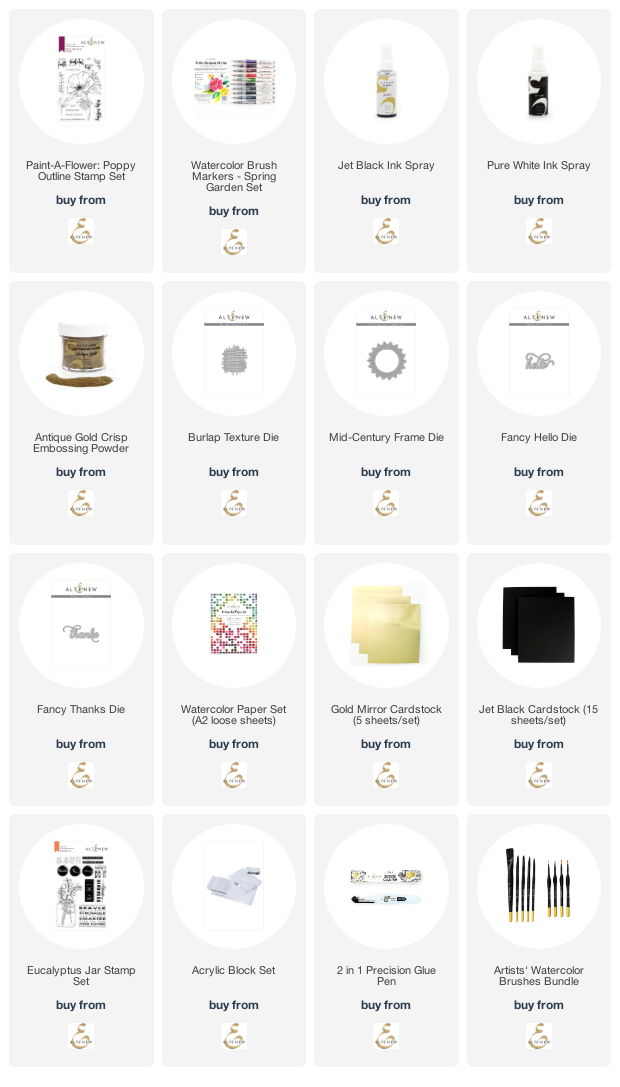
Featured Altenew Products: Paint-a-Flower Poppy & Spring Garden Watercolor Brush Markers
Instructor: Anna Mahtani
Type of workshop: Virtual
Date of Workshop: April 10, 2021 Saturday 9:30am to 12:30pm (Philippine time)
Minimum No. of Participants: (4) Four
Skill level: All levels
Concept: Three creative and easy ways to use Altenew’s Paint-a-Flower sets with Watercolor Brush Markers
Course Objectives: To create 3 cards with different techniques with one PAF stamp set using watercolor brush markers.
I also included a brief script in the lesson plan, oulining the flow of the class. I also indicated the number of minutes it will take for each technique giving around 10 minutes allowance.
ONE MONTH BEFORE CLASS:
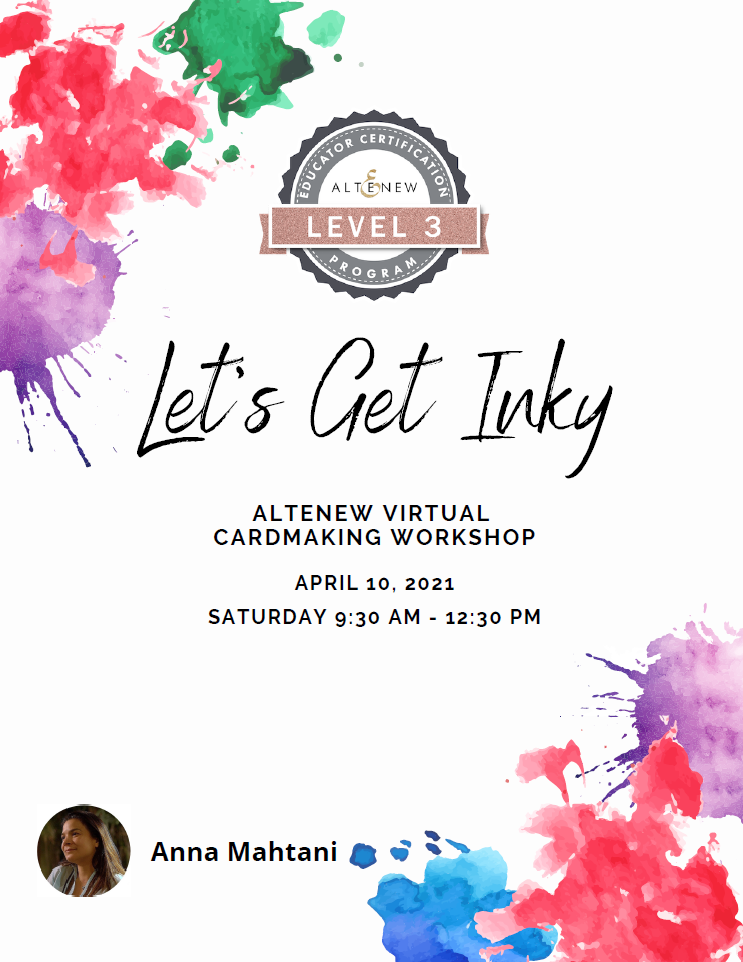
I created an artwork for my class which I will use across all marketing materials including YouTube videos and instruction manuals. I created all my artwork using CANVA, an easy to use application with free download options.

THREE WEEKS BEFORE CLASS:
I sent out a video which I had uploaded on my YouTube channel to the groups who would be interested in participating in my class. It was a one minute ad showing the techniques they would learn in my class.
I had six crafters register for my class. All of them are experience crafters but with varying cardmaking styles. Five of the participants were from my home country, the Philippines and one from Illinois, USA. On the day itself, one participant was not feeling well so she couldn’t attend the class.
ONE WEEK BEFORE CLASS:
I sent the list the participants a pack of precut and pre-heat embossed card panels, sentiment strips, card bases and envelopes. Divide them into separate envelopes per project/technique. I also included a list of items that they must have on hand for the class. Having these kits ready beforehand will allow the participants to focus on the techniques.
Here is a photo of one of the card kits I sent to the registered participants:

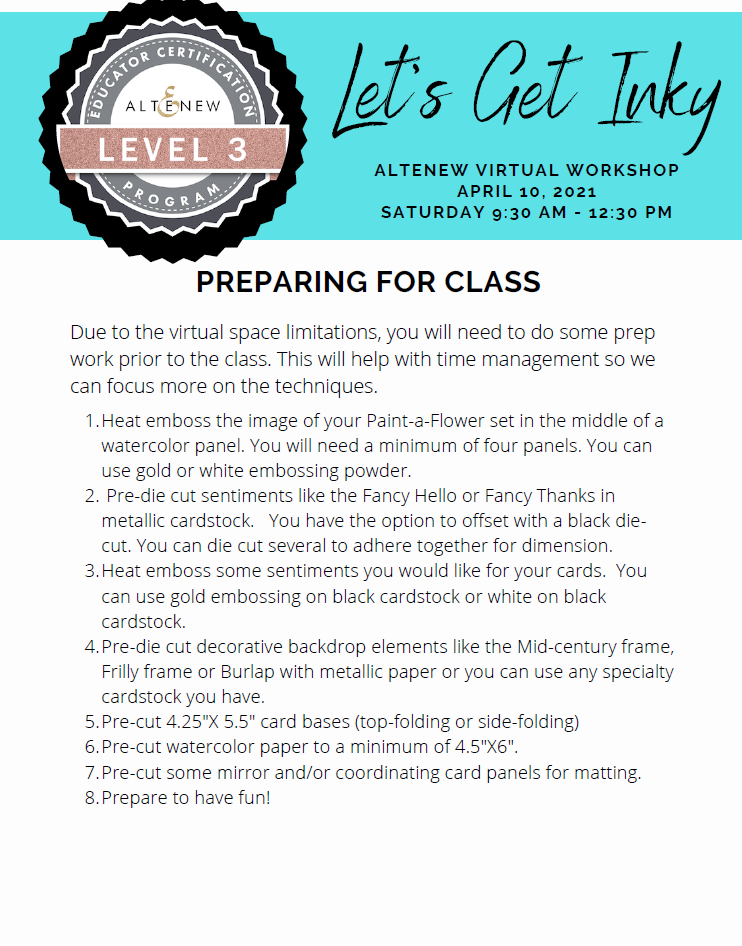
I could not send a card kit to one of the participants as she lived in the US, so I sent her this prep list:
THREE DAYS BEFORE CLASS:
I sent the participants the Let’s Get Inky Instruction Manual in PDF format. The manual included the following: Brief introduction about myself, list of materials, color wheel chart, a one-page basic summary of design principles, a brief outline of the techniques including photos of the cards. Also included was one page of additional inspiration. The last page of the manual listed all my social media handles.
ONE DAY BEFORE THE CLASS:
I also did a technical rehearsal. I set up all my equipment and checked all my connectivities. My husband and kids logged on Zoom and checked the set up from the participant’s perspective. We made several tweaks to the set up. I was able to make adjustments to the camera angles of my face and workspace, and most importantly to the sound. I had one camera from my laptop focused on my face and another camera from my phone on an overhead stand, labeled “CRAFTY CAM” which was focused on my desk. I pinned that angle on the chat so all the participants could see what I was doing.
DAY OF THE CLASS:
09:20 am – I signed into the class via the ZOOM link I provided to all the participants. Altenew AECP coordinator, Virginia signed in and we did a brief technical check to make sure everything was running smoothly.
09:25 am – I started letting the participants into the class.
09:30 am – Welcome message and introductions of class teacher (myself) and AECP coordinators. Virginia broke the ice and introduced herself. Then we went around the room and all participants did a short introduction.
09:40 am – I gave a brief explanation about the class. I gave them an overview of the techniques they will be learning. I encouraged them to let loose and not to be afraid of making mistakes. The point of my class is to get inky and a little messy and, of course, to create something beautiful!
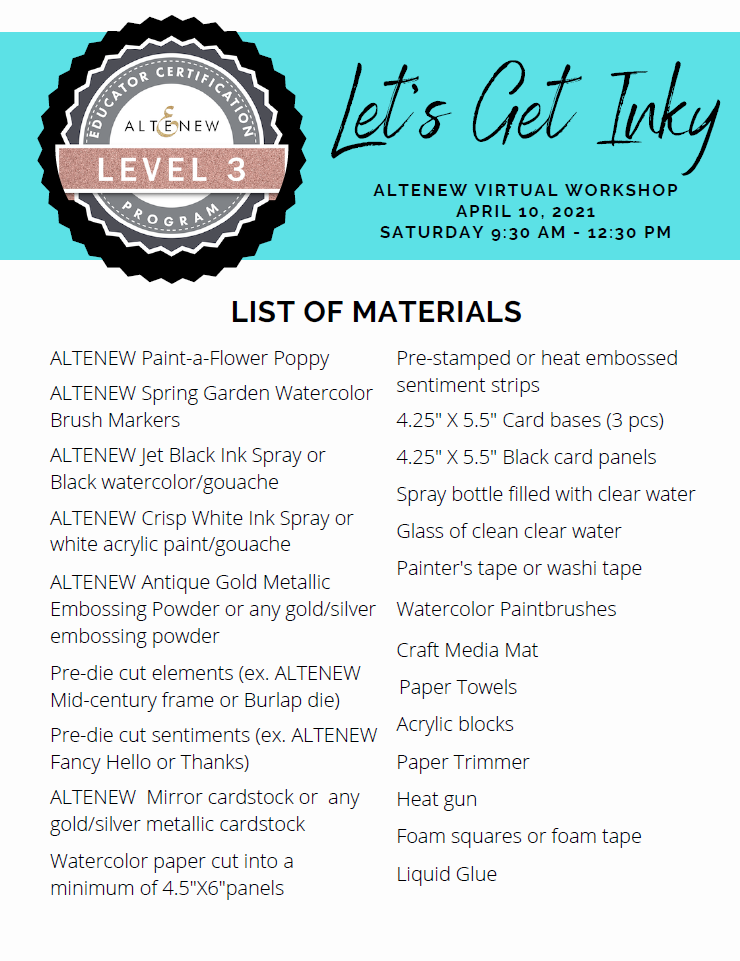
09:45 am – We did a run through the materials checklist. This is a sample of what the checklist looks like in the manual.
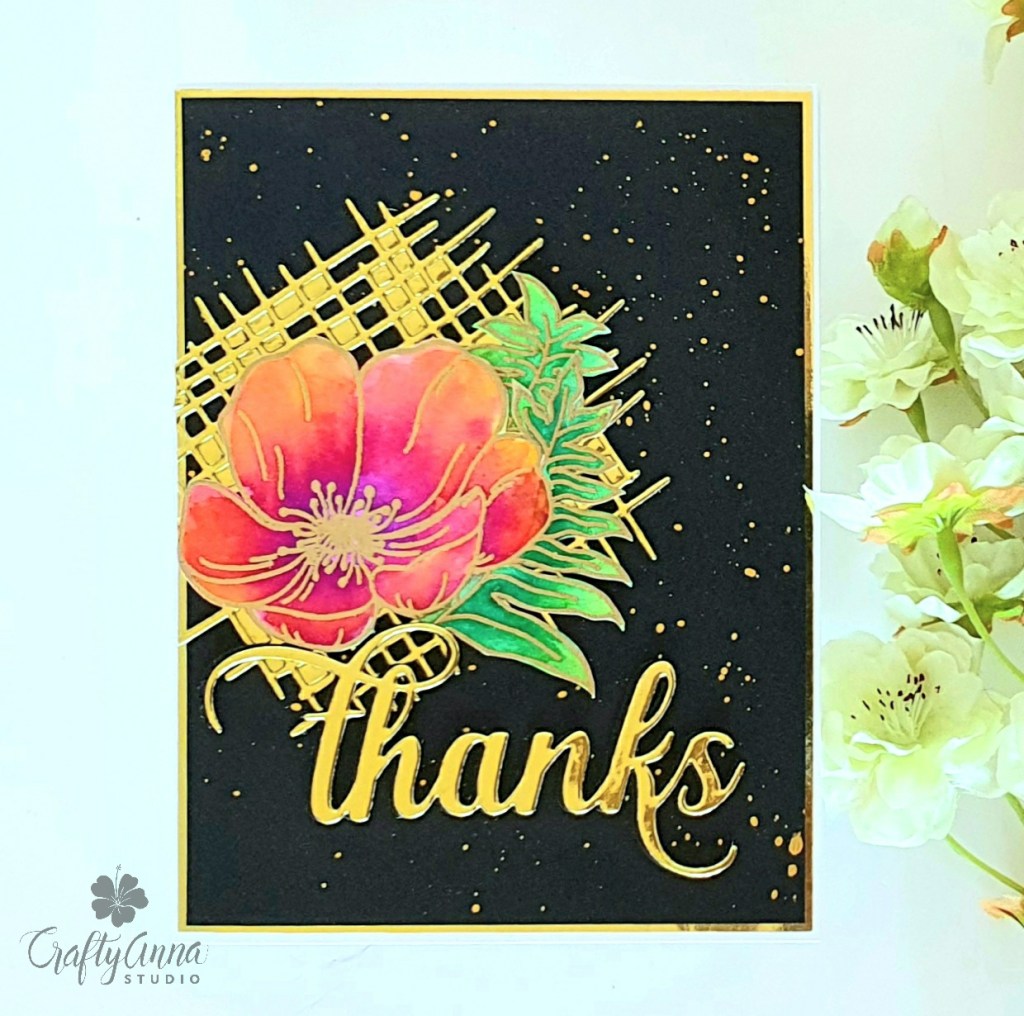
TECHNIQUE #1: Scribble & Spray
10:00 am – Before we started, I showed the class a brief 3 minute video to give them an overview of the technique. I narrated live as the video was playing. After the video, we prepared to start with the technique.

After taping down the pre-heat embossed card panels, we used the brush markers to scribble colors on the heat embossed images. We also scribbled on the background! Then with our spray bottle, we sprayed the panel generously with water. I showed them how to move the pigment around, dab excess colors that bled and add more pigment where necessary. Then we added black watered down Jet Black Ink spray on the background to darken. Then we set it aside to dry. We did the same with the another panel (which will be used later on for Technique #3) . As we were doing the technique, I briefly explained the color wheel that was in the manual and why it was important that certain colors should not mix together.
Technique # 2: Stamp & Sprinkle
10:35 am – While the card panels were drying, we moved onto the next technique. I showed a brief 2 minute video of the second technique to give an overview of what we would be doing. I narrated live as the video was playing. After the video, we started working on the technique.
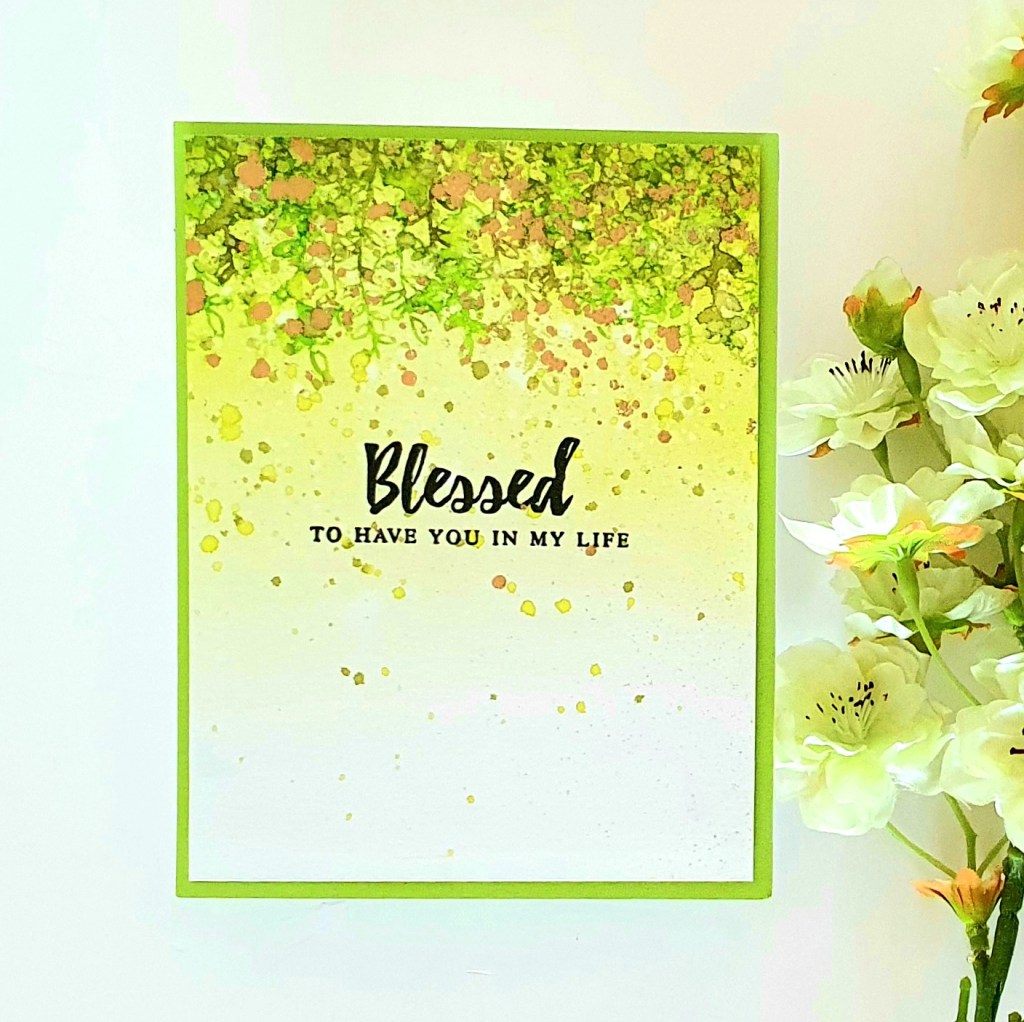
We took the provided pre-heat embossed panel and placed it on our workspace. We mounted the secondary stamp images from the stamp set on an acrylic block and stamped them on the upper part of the paper. Stamped once and kept stamping to get 2nd and third generation. We kept repeating the same. I encouraged them to change up colors to suit their style! We then took a heat gun to dry the panel a little. Then we sprinkled water onto the upper part of the panel and before the water dried, we sprinkled gold embossing powder and heat set it starting from the back of the panel moving to the front. We set aside to finish off later.
After finishing technique #2. We moved on to:
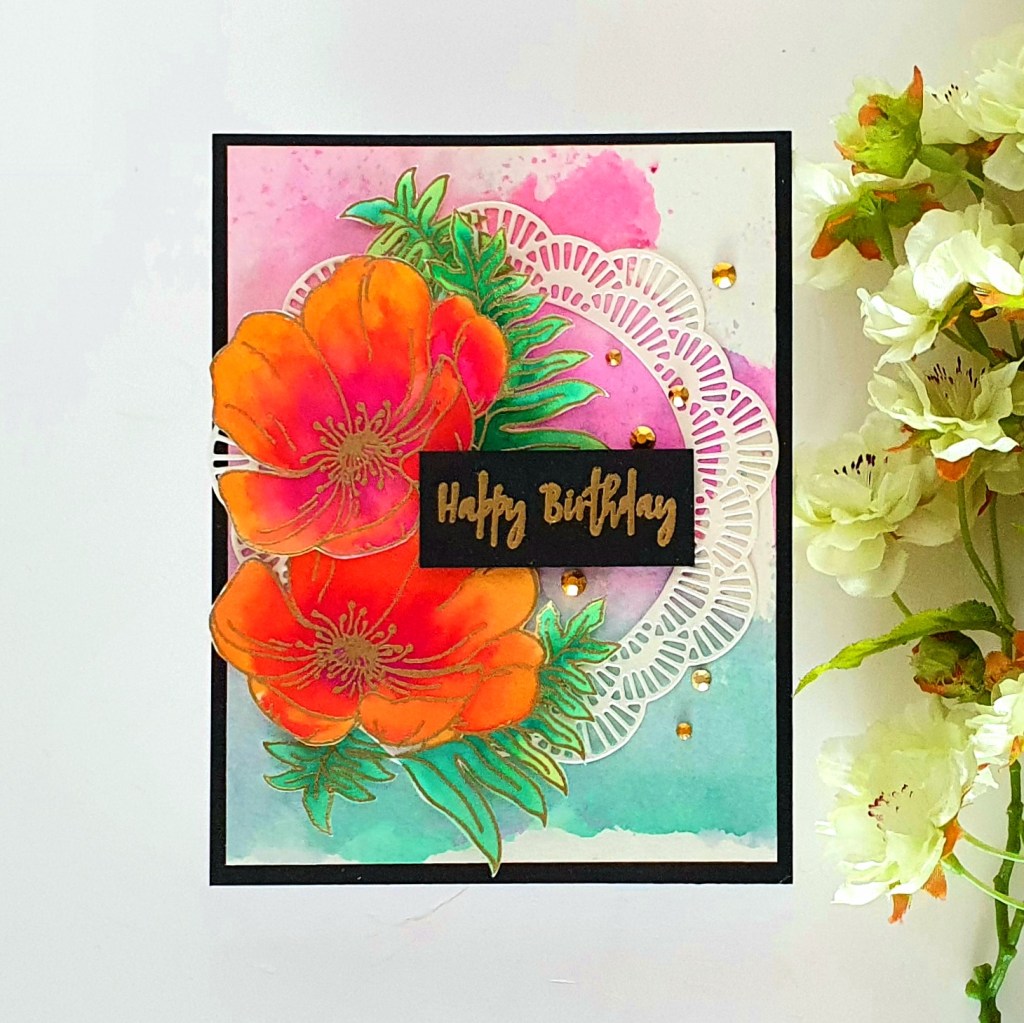
Technique #3: Paint & Paste
11:00 am – We took the second panel we had pre-colored in the first part of the class and applied more concentrated pigment on specific areas to enhance the image. Then we fussy cut the flowers, separated the leaves in some cases, depending on how the participants wanted to lay out their images. I had provide some die cut elements as a backdrop for their flowers. Also provided were die cut sentiments. This came in their kit. I encouraged them to tap into their creativity when laying out the elements. I referred them to the Basic Design Principles indicated in the manual. I briefly went thru each design principle using a finished card as a sample.
Paint & Paste
11:30 am – We used this time to finish off the cards. We adhered the images, added sentiments and adhered them to card bases. While doing this we chatted and I answered some questions from the group.
11:45 am – For additonal inspiration, I showed them other card designs they can make using the same techniques. I briefly explained the process for each of them.

12:00pm – I ended the class by asking everyone to hold up their creations and Erum took a group photo! I thanked everyone for participating. And then we said our goodbyes!

PARTICIPANTS PROJECTS:


In conclusion, the class, I believe, turned out quite well. We were able to get all the cards done on time and with 30 minutes to spare! It didn’t feel rushed at all. We even had time to chat and catch up with each other.
These are the three key learnings from my experience:
- Importance of preparation: It was so important it was for me to prepare for the class. The lesson plan was specially helpful in determining what I needed to focus on and what to omit. It also gave me an idea of what the participants would need to do prior to the class in order for us to focus on the techniques. This is what enabled us to finish on time and enabled me to keep everyone on track and yet have fun in the process.
- Short videos of the techniques: The 2-3 minute videos that I showed prior to starting each technique was specially helpful in giving the participants an overall idea of what to expect. This enabled us to get right into the techniques. At the same time, the participants could always refer to my workspace as I was able to do it alongside with them.
- Importance of technical rehearsals and back-ups: This was so important in the overall success as I was able to get all the kinks out of the technical side in order to get the class to run smoothly. I had several issues outside of my control just an hour before class time (we had a power outage). But because I had all the tech issues anticipated out of the way, I was able to make the necessary adjustments and the class started on time.
If you are interested in becoming an Altenew certified instructor, you can check all the requirements here.
A big huge thank you to Virginia and Erum for their unwavering support and a big thank you too to Nenette of My Little Attic who was such a big help!
‘Til next time!
Anna
Thank you for visiting my blog. I truly appreciate it! You can also find me on Instagram, YouTube, Pinterest and Facebook.
Materials:
Note: I am affiliated with some online stores including Altenew, Hero Arts, Brutus Monroe, Concord & 9th and Trinity Stamps. If you use any of the links above, I get a small commission from these wonderful shops at no extra cost to you. Thank you for your support!

Your well-written post says it all, Anna! You did an AMAZING job with this workshop. Erum had the fortune to witness your growth and how you powered through this program in the last few months. You set an excellent example how you become the Altenew Educator! For that, we are so proud and thankful for your time and hard work. Big thanks to your students as they demonstrated such enthusiasm and love of your workshop. Your preparations really paid off as they are planned down to every detail. Your short video prior to each technique was most helpful and informative. Not only it gives the participants an overview and it also saves time to explain and help each participant to “see” what’s to be expected. Each participant was able to do their own interpretation and add their own twist! This shows that you have what it takes to be an Educator. BRAVO!!
LikeLike
Thank you so much Virginia! Your support means a lot to me 💕
LikeLike
What a fantastic class! I am sorry that I missed this! Congratulations on such a huge accomplishment and WELL DONE! ❤❤
LikeLike
Thank you so much Kim! 💕
LikeLike
Wonderful post Anna!!!! It seems like this was a fabulous workshop!
Congrats on becoming an Altenew Educator, you are fantastic and I would love to take a class with you in the future!!
This seems like such good fun! Plus the cards you all made are absolutely GORGEOUS!!!
😁🤩❤
LikeLike
Thank you so much Tasha!!
LikeLike
Hi, this is a fantastic project! Your blog post is so detailed that I feel like I was at a workshop. The short videos were perfectly prepared and were provided to the participants in a lot of help and inspiration! The cards are wonderful too! Congratulations!
LikeLike
Thank you so much for your kind words!💕
LikeLike