

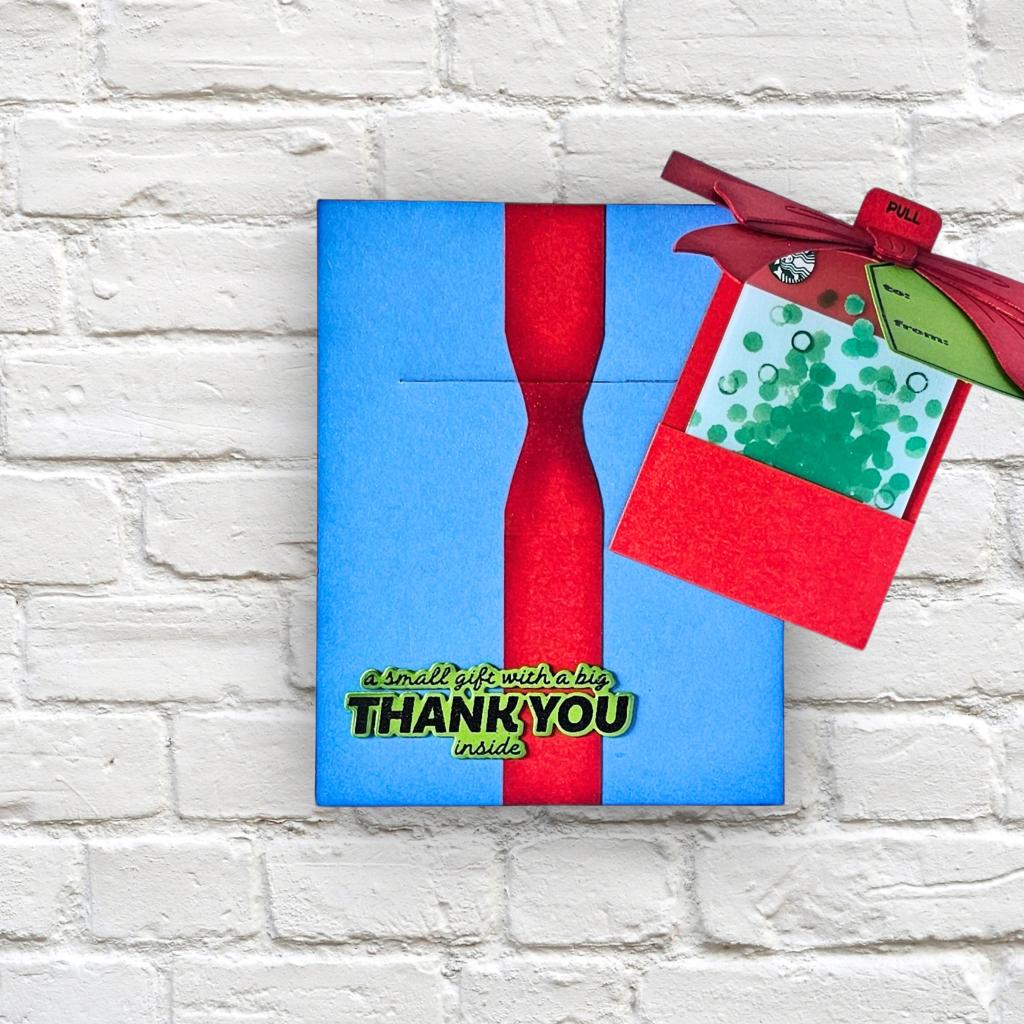
Hello! Anna here and I am sharing a card I created with a hidden gift card holder. The front of the card looks like a gift and pulling on the tab, reveals a gift card.
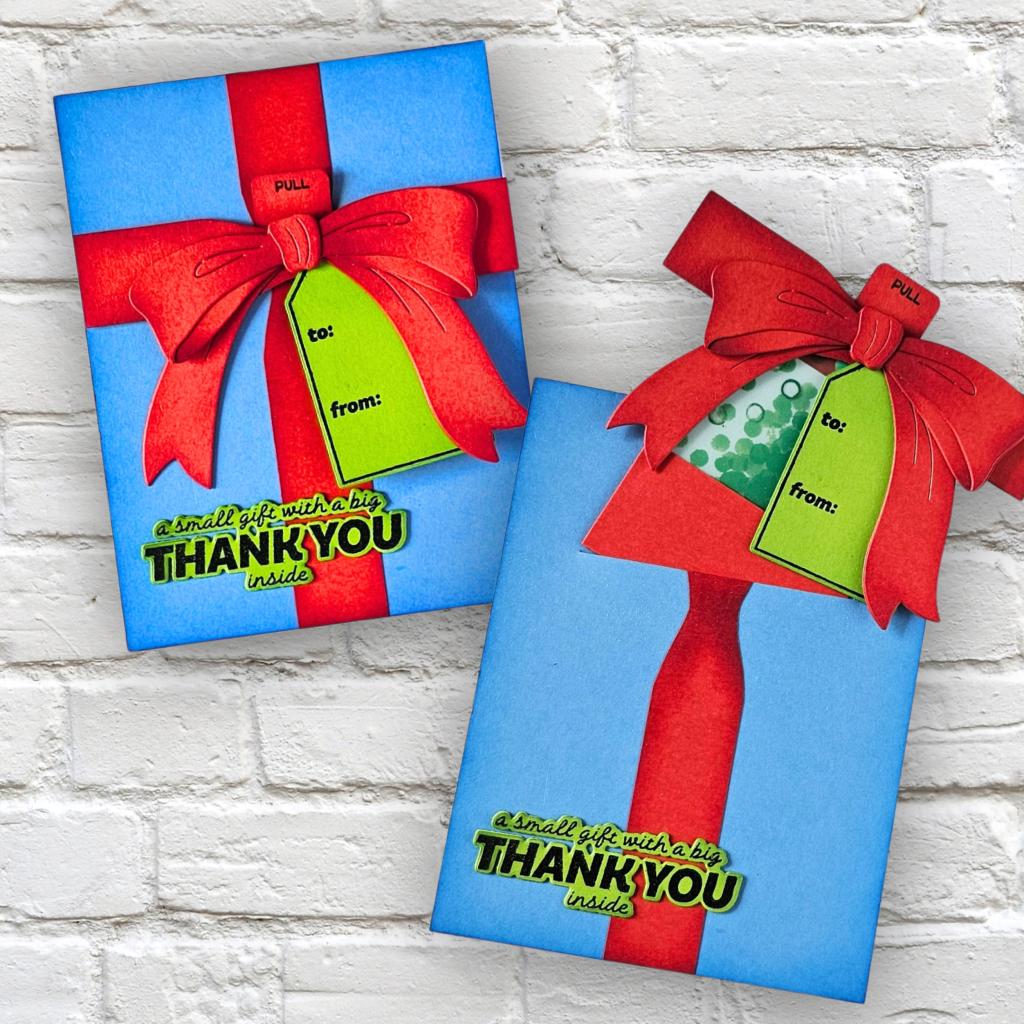
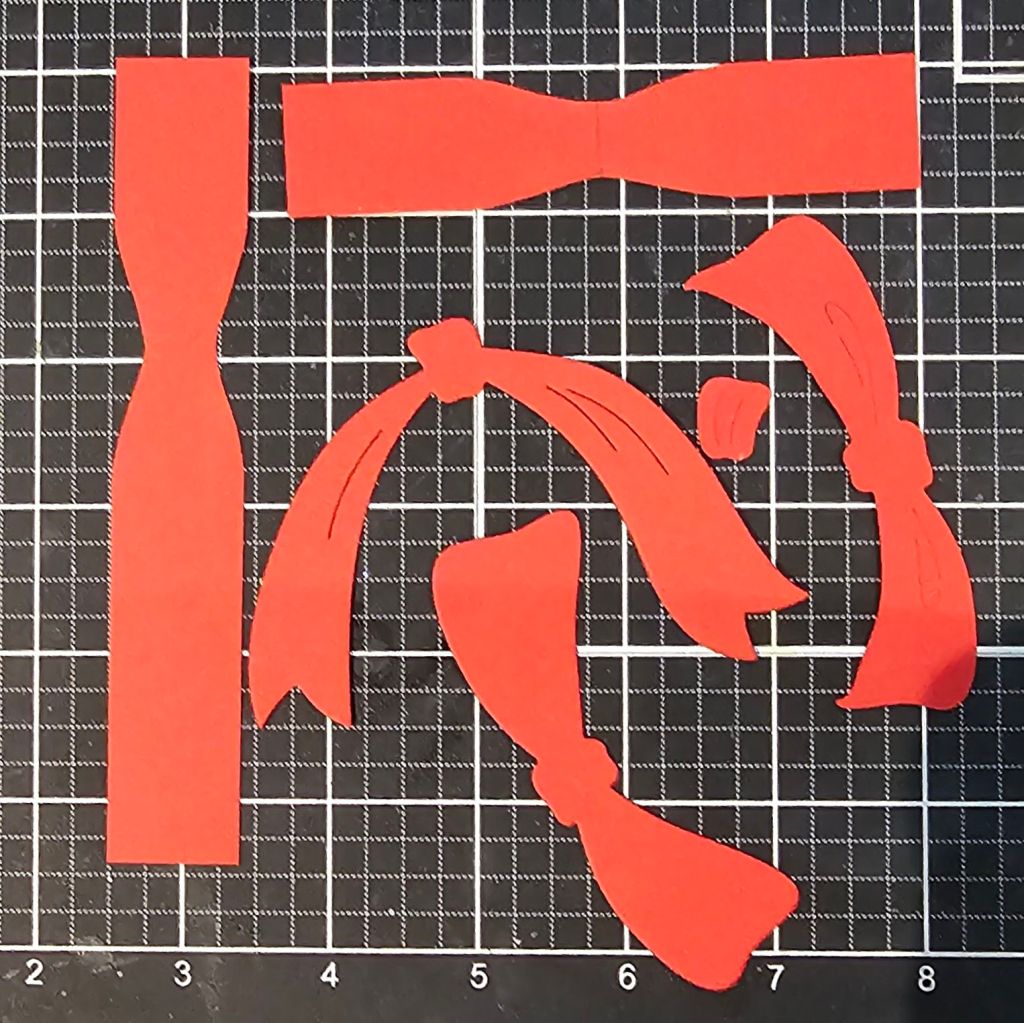
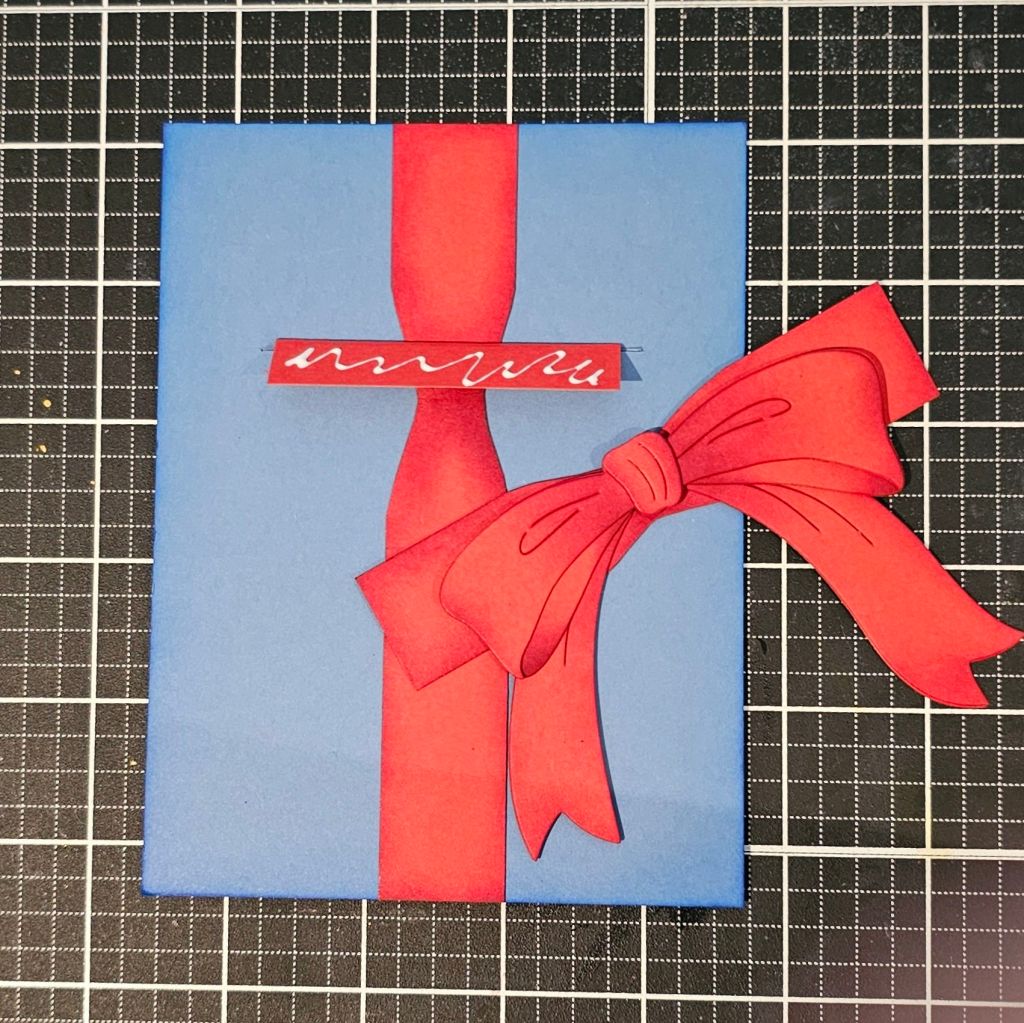
For the base of the card front, I cut a sheet of Celestial cardstock to 4.25″ x 5.5″. And for the ribbon of the card design, I cut two strips of Poppy cardstock, one strip measuring 5.5″ x 7/8″ and the other measuring 4.25″ x 7/8″. Using the same color cardstock, I also die cut all the pieces of the large bow from the October 2025 Hero Studio card kit of the month.
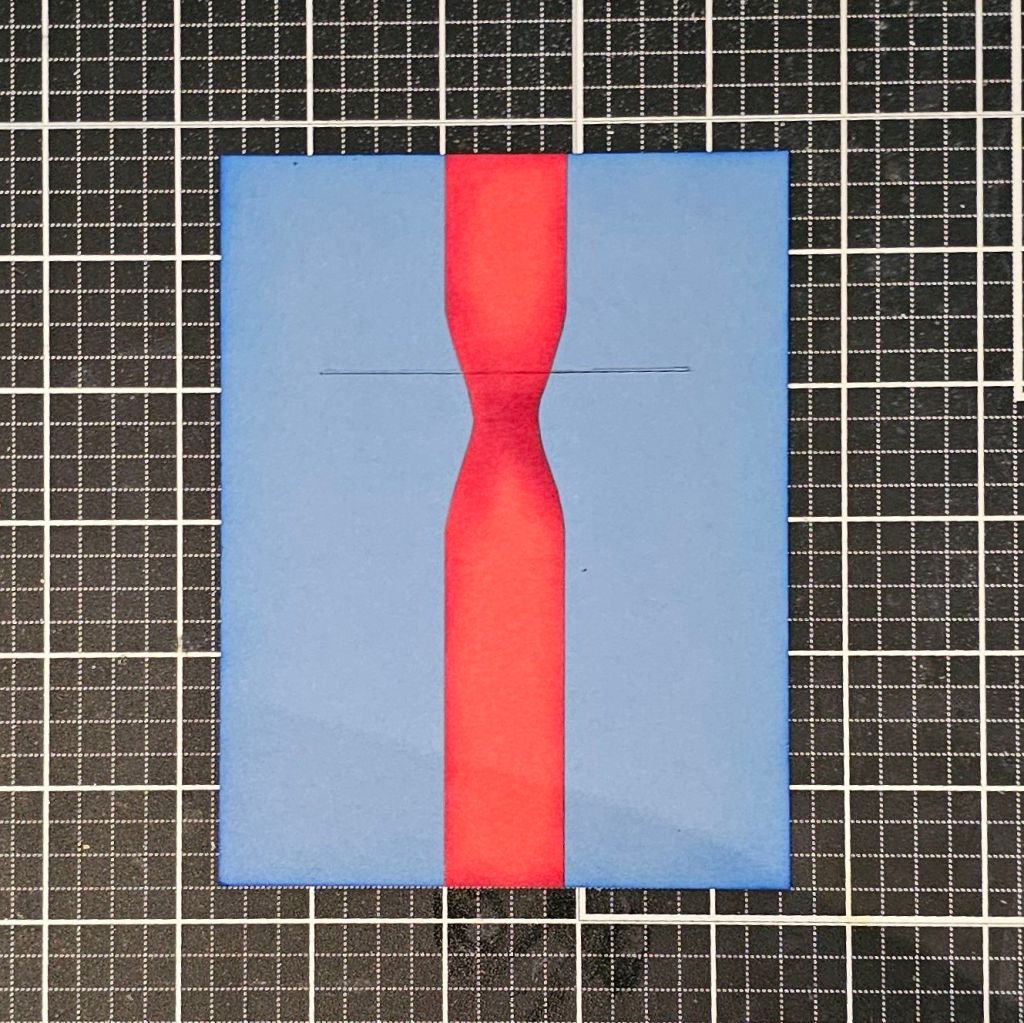
To create the angled notches on the strips of Cardstock, I measured 2″ from one end of the longer 5.5″ strip and drew a line across. For the shorter 4.25″ strip, I measured the middle at 2 1/8″ and marked it with a line in the middle. Next, I cut angled notches on both sides of the strips where the line meets. This will give the ribbon a more realistic look once the bow is glued on top.
Next, I ink blended the bow and ribbons with Cranberry core ink. I ink blended the Celestial panel on all sides with Indigo core ink.

Then I glued the longer strip vertically in the middle of the Celestial card panel. To create the slit for the gift card, I measured 1 5/8″ from the top, and 3/4″ on each side and with a craft knife, I cut a horizontal strip across the card.
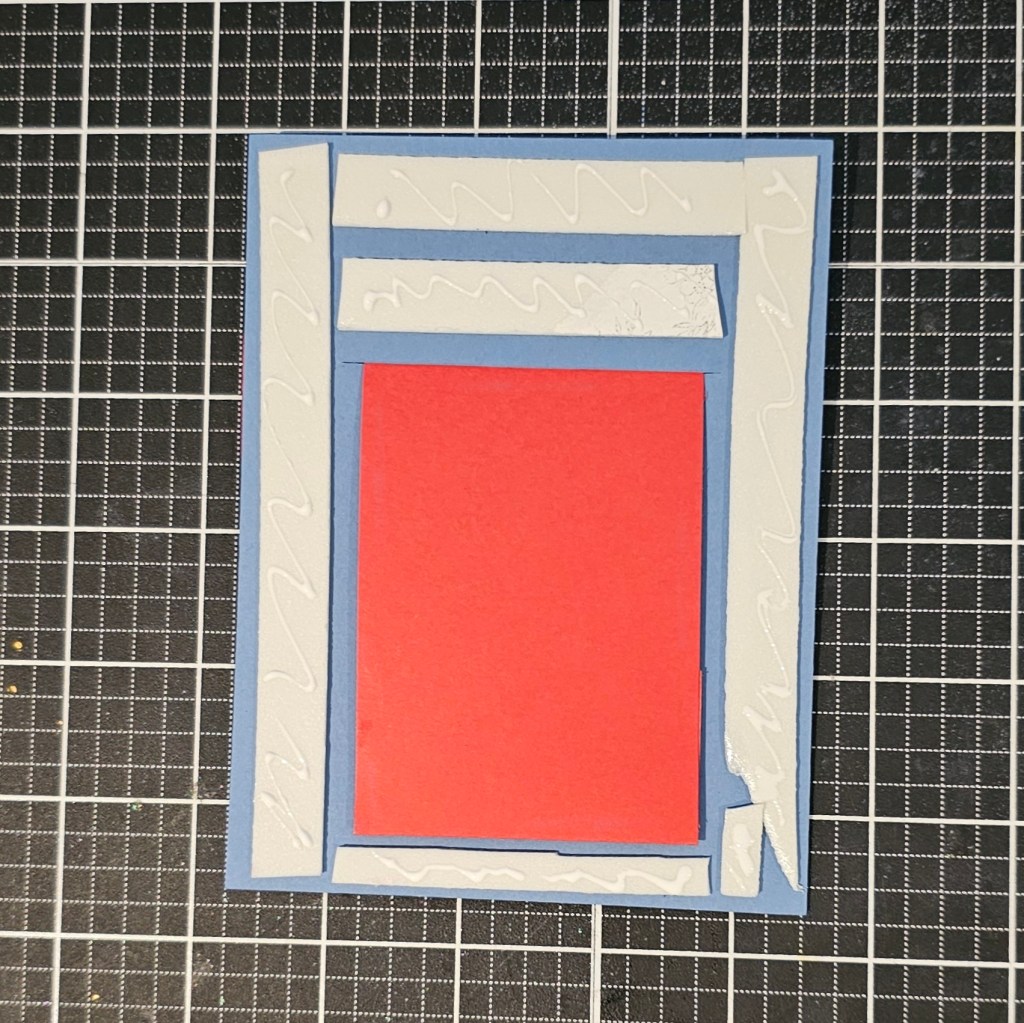
To create the piece that holds the gift card, I cut a piece of Poppy cardstock measuring 5 1/4″ x 2 1/2″ and on the 5 1/4″ side, I scored it at 1/2″ & 4″. Next, I folded the larger tab and applied a thin strip of glue on each side edge to create a pocket for the gift card.

Next, I inserted the gift card holder into the horizontal slit, with the tab hanging out the front of the card. Then I adhered the ribbon and bow on top of the tab, making sure it was centered horizontally on the card front.
Then I cut a small piece of cardstock measuring 1 1/4″ x 3/4″, stamped the word PULL with black pigment ink and glued it to the back of the bow. Next, I flipped the whole panel to the back with the gift card holder still attached. I added foam dimensional tape all around the gift card holder. I removed the backing of the foam tape and then added glue before adhering it on top of a side folding card base.
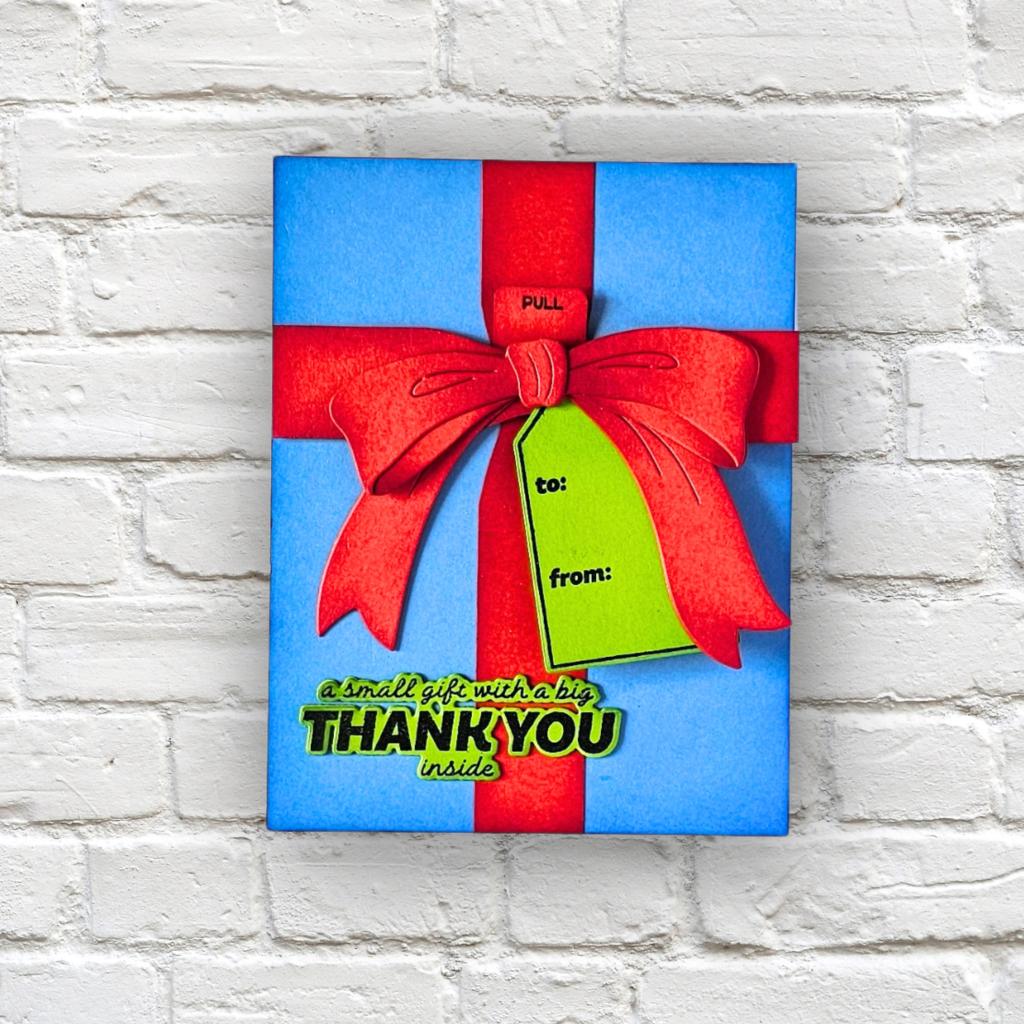
I stamped the tag image and the sentiment “A small gift with a big THANK YOU inside” from the Just Because Stamp set on Rainforest cardstock with black pigment ink. Then I heat set it with clear embossing powder and used the coordinating dies to die cut them out, Next, I adhered the tag to the right side just underneath the tail of the bow and then sentiment at the bottom left of the card front.
I hope you were inspired to create this gift card and if you do, tag us on social media. We would love to see your wonderful creations!
Have a wonderful crafty day!
Til next time!
❤️
Anna
