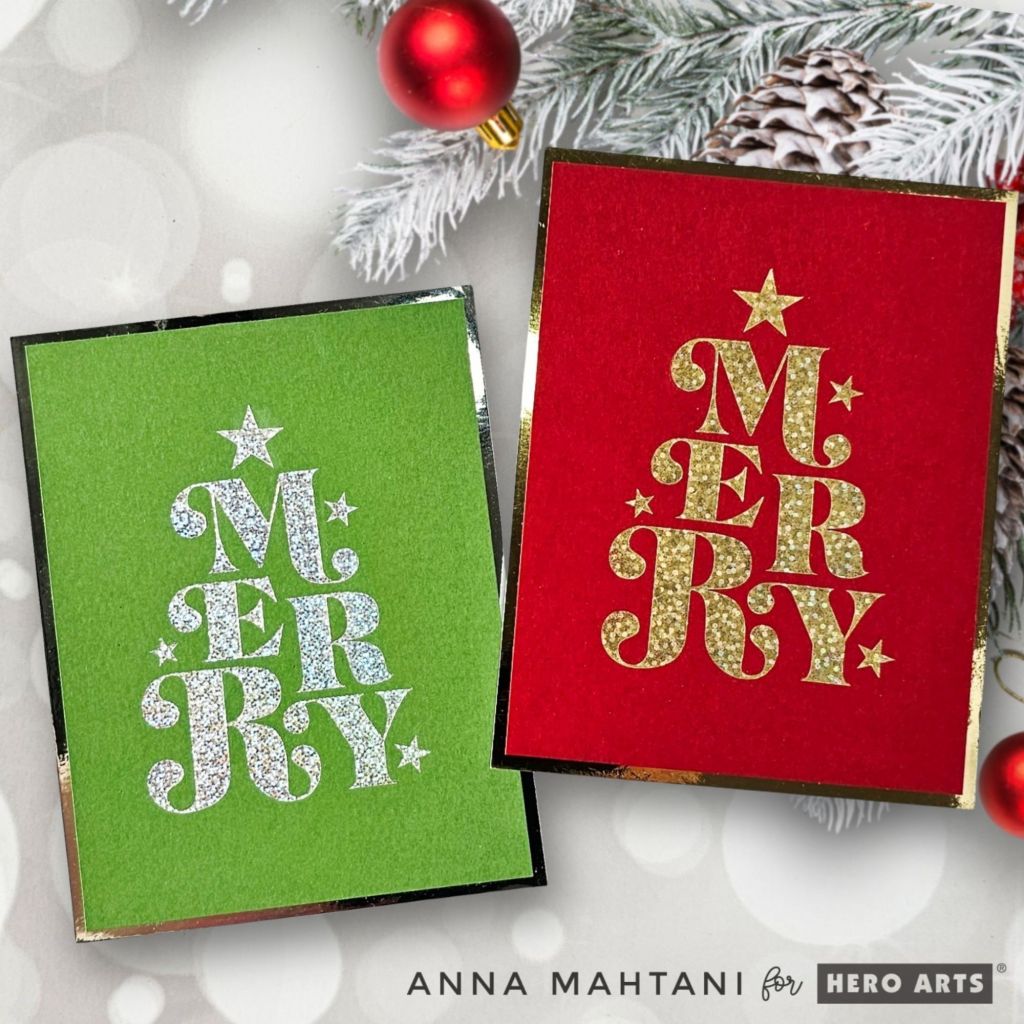
Hello! Anna here with a quick tutorial on how to get the best results out of your glimmer hot foiling projects! I will be using the Merry Hot foil plates and the coordinating alignment guide for my cards.
To get started, use the alignment guide when placing the letters of the Merry Plates. Align the thin black border with the lines on the bed of the glimmer machine.

When I started hot foiling, I made several mistakes with the order of placement of the foil and the plates. So, I came out with an easy to remember acronym – PUSHeD PaST. Plate Up – SHiny side Down – Paper – Shim – Top plate.
After placing the hot foil plates facing up and using the alignment guide to put them in place, I removed the alignment guide, turned on the machine and then placed the gold speckled aura foil SHiny side Down on the plates.
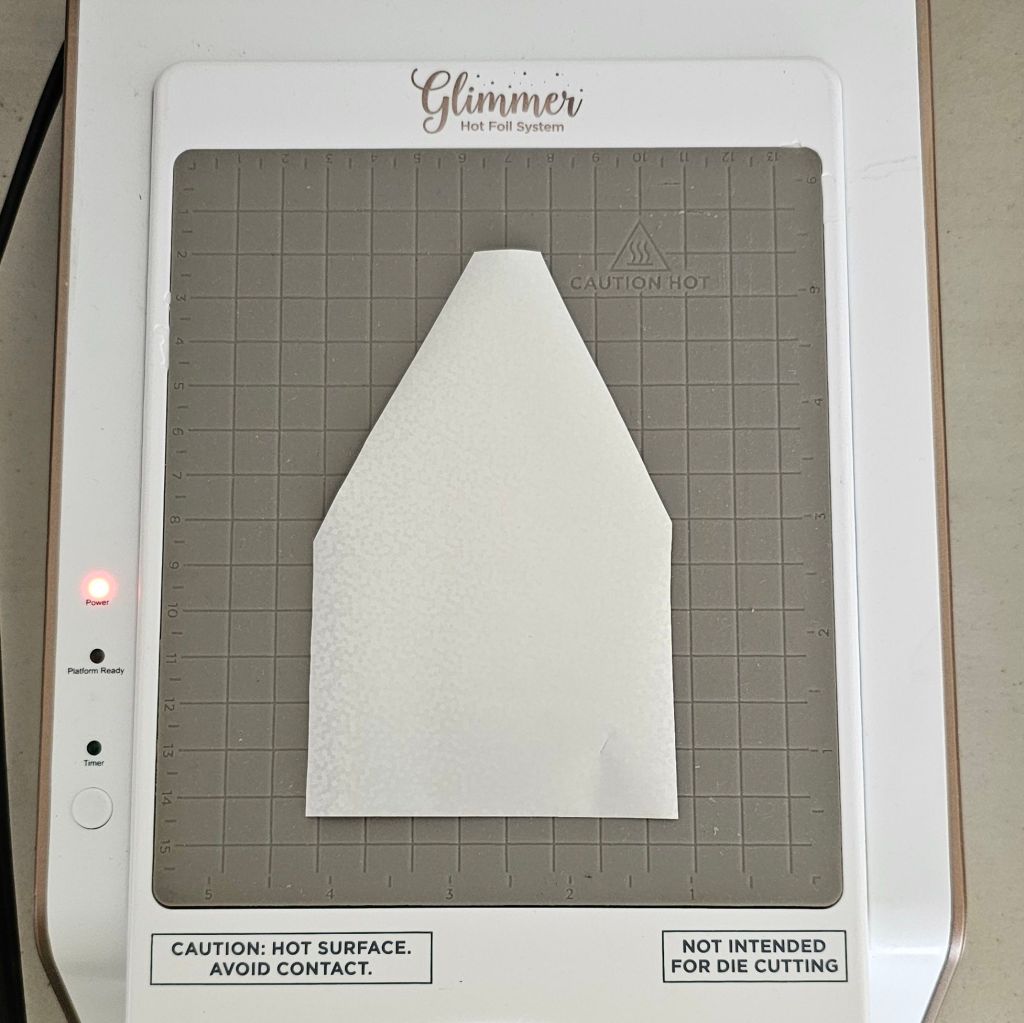
Next, I placed the Cranberry cardstock Paper cut to 4″x5.25″, aligning the top corner to the grid lines on the glimmer bed.

Next, I placed a SHim of paper. Sometimes you do not need this if the paper is very thick, because even a micromillimeter can cause the foil not to adhere properly. You can always experiment with different papers. In this case, when I first foiled I didn’t have a shim of paper and this was the result.

But my next attempt with a shim and using the other side of the foiled Cranberry cardstock, this was the result.

Then after placing the shim of paper, I placed the two plates gently on top, first the thin Shim plate, followed by the Top plate or the spacer pad.
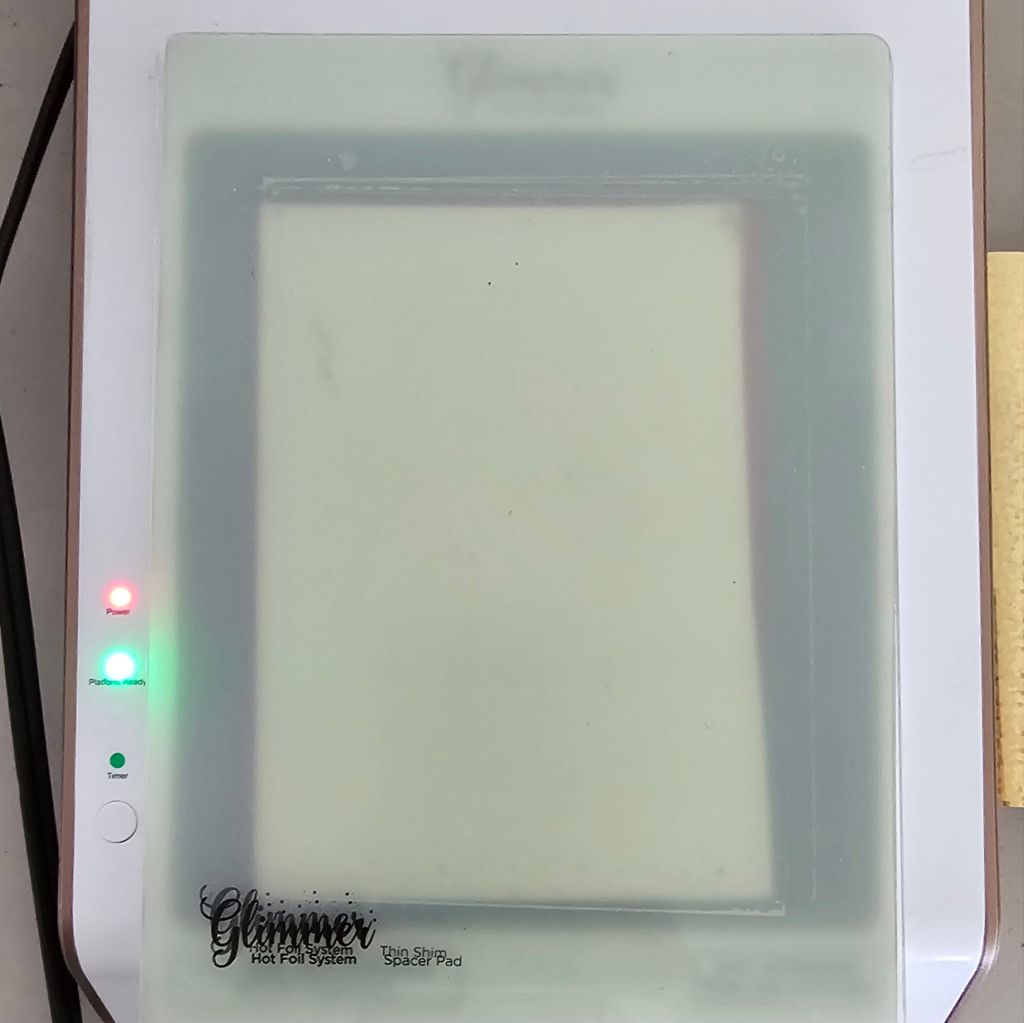
By then the green platform ready light went on so I pressed the timer, and when the timer light stopped blinking, I gently removed the plate bed from the machine using my free hand to put gently weight on top so as not to move the plates. I then fed it into the die cutting machine pinching the plates together with my fingers as I run it through. Now this is super important and I cannot stress this enough – run it through very very slowly. If you rush this, the foil will not have the time to press into the cardstock properly so, go as slow as you possible can.

Then after running it through, I placed it back on the machine platform, removed the plates and cardstock and peeled off the foil to reveal the foiled design. This is the most satisfying part of the whole process! Then I repeated the whole process again, this time I used Silver speckled prism foil on Fern cardstock.
For the Cranberry panel, I cut it down to 4″x5.25 and matted it using gold mirror cardstock for a more elegant look.
For the Fern green, I matted it with Silver mirror cardstock. I adhered both to a side folding white cardbase.

I plan to mass produced these cards for the holidays as it was fairly easy to do once everything was set up. And I PUSHeD PaST all my foiling mistakes with that acronym in mind!
Let me know in the comments below if you found this useful and if you have any tips or tricks to share with us!
Have a wonderful crafty day!
Til next time!
❤️
Anna
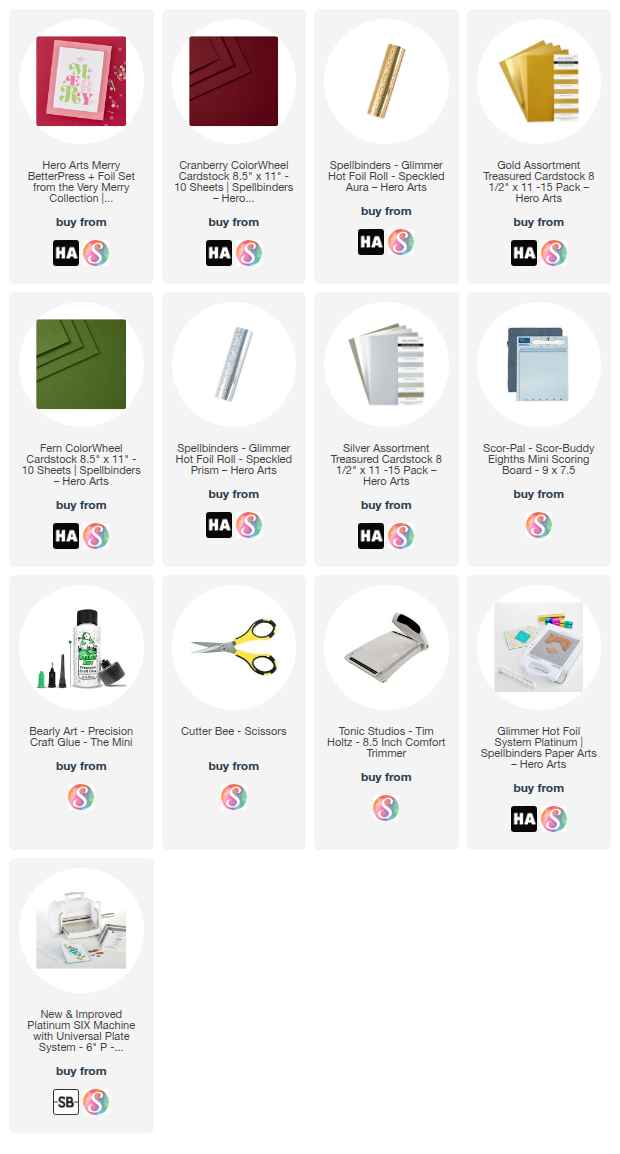
List of Products: