Hello friends! I am beyond excited to be part of the Paper Rose Studio Design Team. For those of you not familiar with Paper Rose, they are an australian craft company based out of Melbourne. They specialize in beautiful pattern papers. If you have been a follower of mine for any amount of time, you know I do not use pattern paper much. But that doesn’t mean I don’t have hoards of them! So I decided that this year I would start using pattern paper in my projects. Though I will be posting mostly new releases, all my projects will be applicable to whatever you may have in your stash.
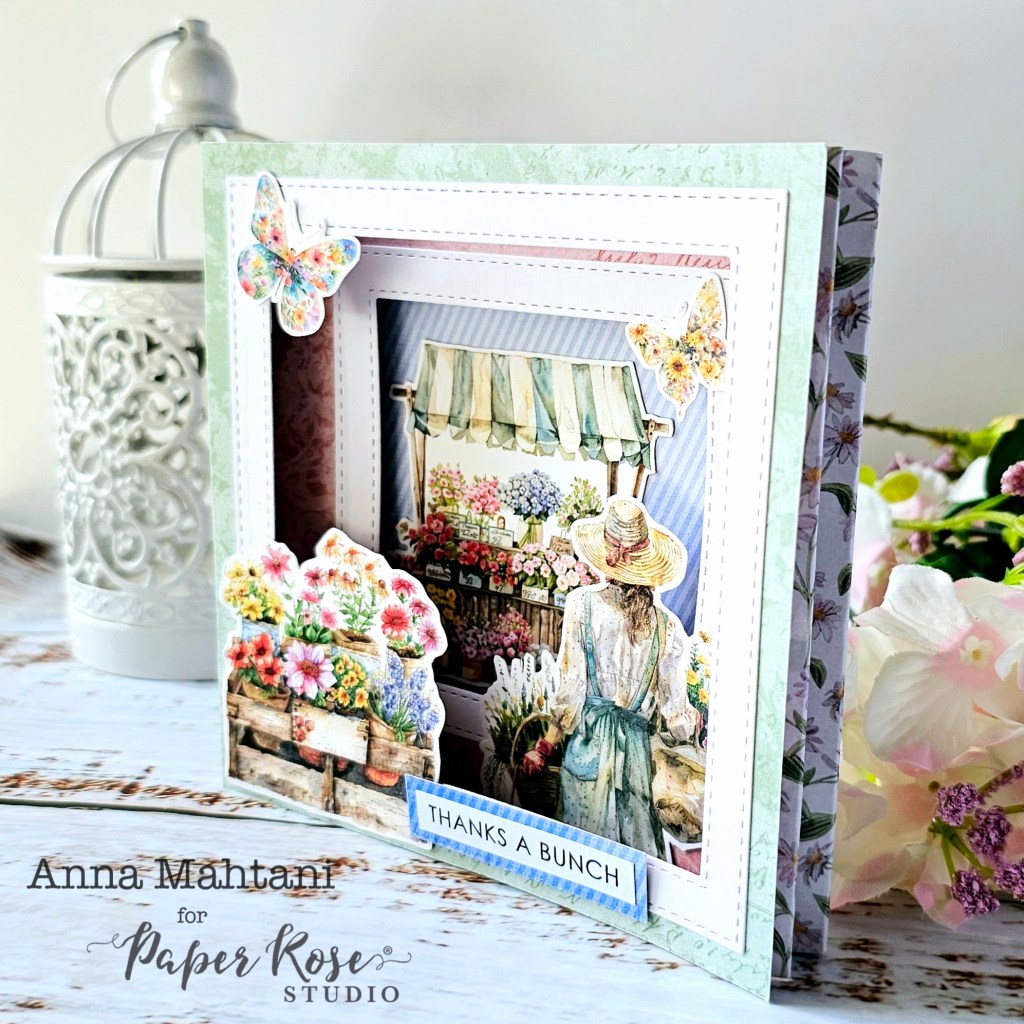
My first Paper Rose project is a Pop-Up Shadow Box Card.

This may look intimidating at first glance but it’s surprisingly simple to create! I have a video liked below showing step-by-step instructions.
I chose five pattern papers from the Flower Shoppe 6×6 paper pack, three tone-on-tone papers and two printed papers. I cut down the three tone-on-tone and one printed piece to 5×5 using a paper trimmer. Then I cut down the one remaining printed paper to 5X6, cut in half again to two pieces of 3×5 pieces.
Next, I used two different sizes of regular square dies and die-cut out the middle to create windows on tow of the tone-on-tone pattern papers. I used the paper Rose Stitched Square frame dies and framed each of the openings.

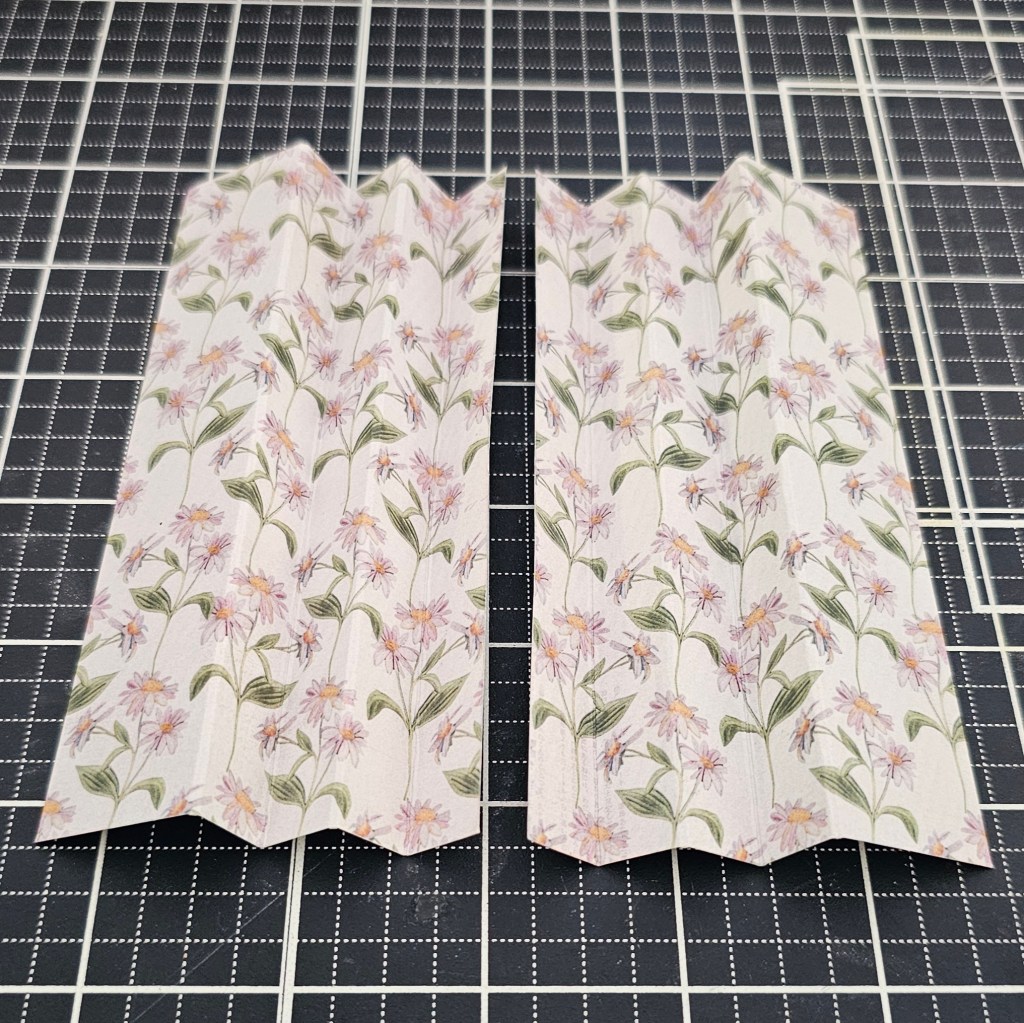
Then, I took each of the 3×5 pieces of printed cardstock and scored each at 1/2″, 1″, 1 1/2″ and 2″ and accordion-folded each piece.
Then I attached each accordion-folded piece on either side of back of the largest frame.

Next, while laying flat, I added the next framed piece on top and then glued down the next fold. after trimming off about 1/16th of an inch on either side.
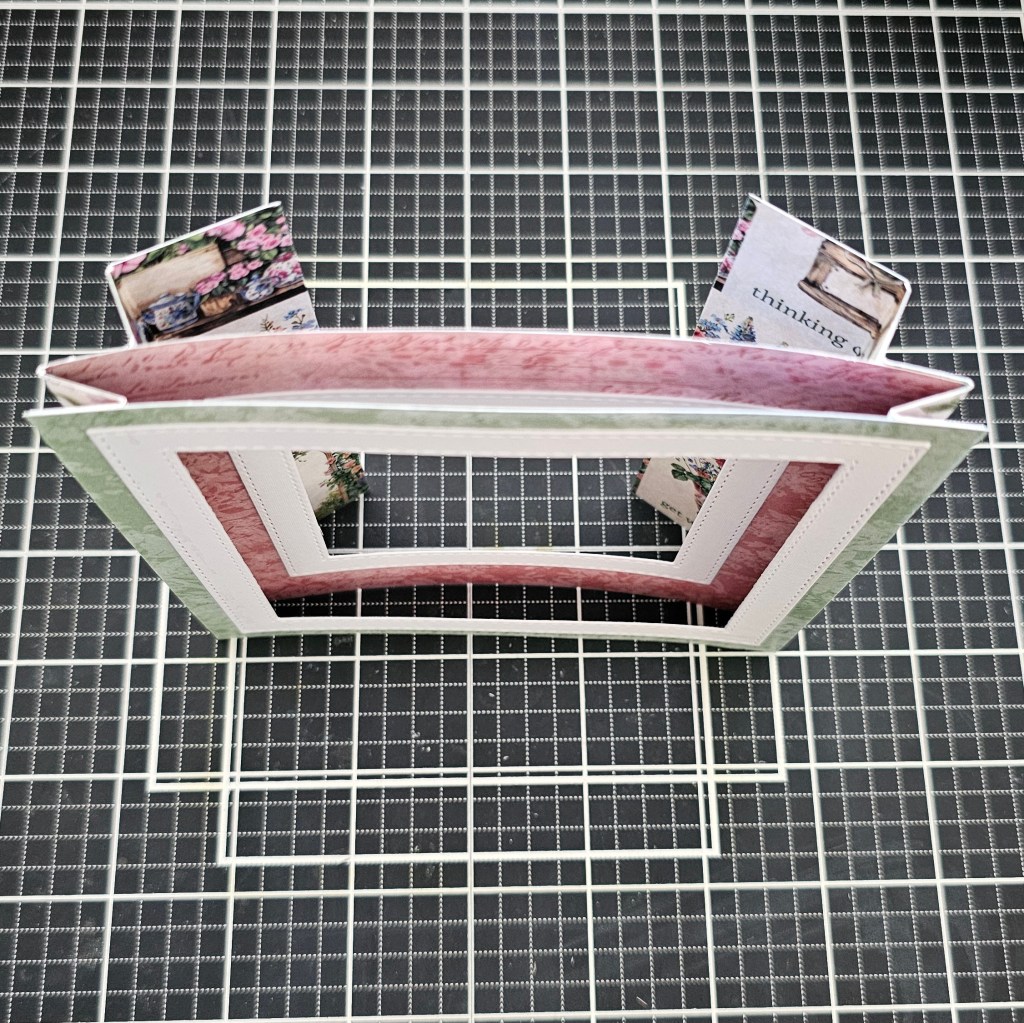
Then I added the last tone-on tone piece on top of the second frame, added glue on the tabs on either side and glued them down. Don’t forget to trim off about a sixteenth of an inch on either side before adhering it down.

I added the last remaining piece of printed pattern paper to the back, then added a white cardstock on top where you can write a message on.

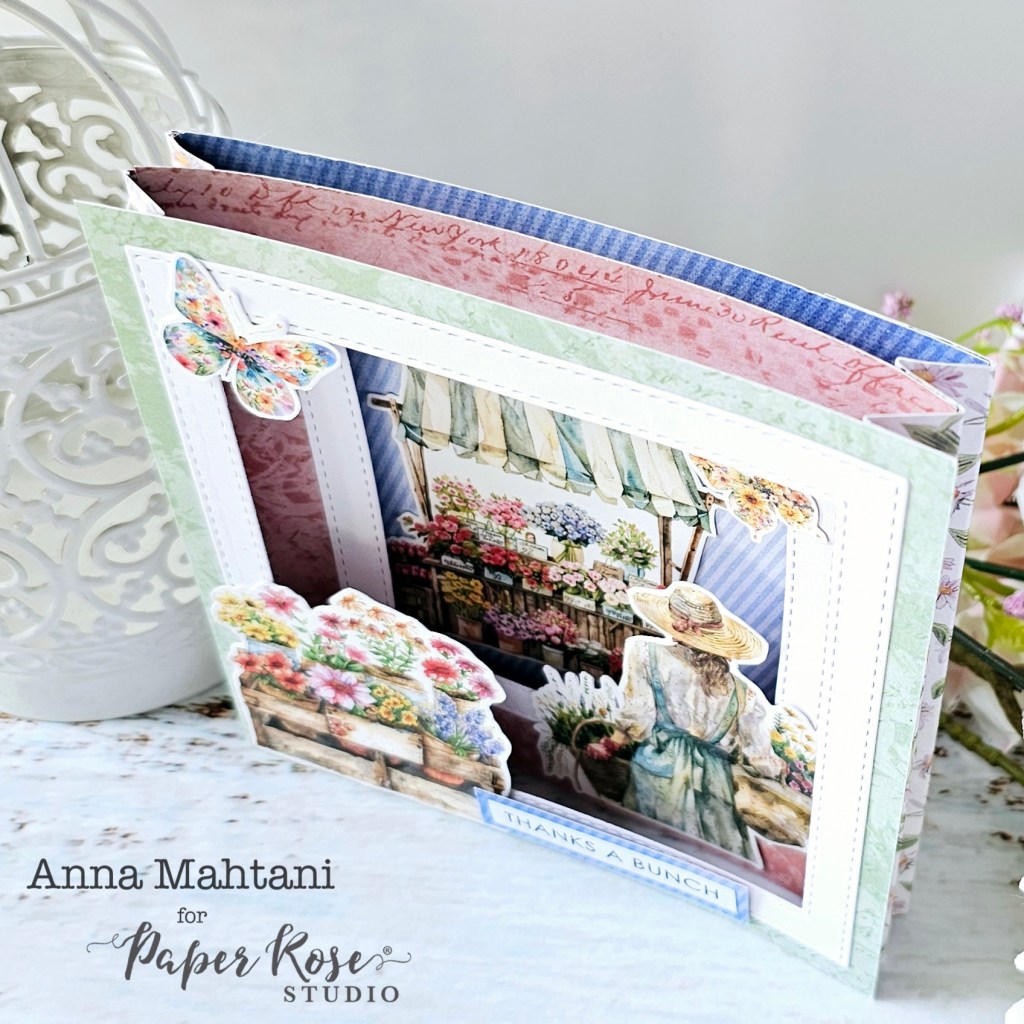
Then comes my favorite part where I glue in the ephemera elements to create my scene. I used a flower shop image for the back, the girl holding baskets of flowers on the middle right hand side and then a crate of flowers at the front on the left side of the frame.
For the final touch, I added the sentiment Thanks a Bunch matted with blue tone-on-tone paper. The sentiment is fromt All-occasions pre-printed sentiment pack also from Paper Rose Studio.
I hope you were inspired to give this pop-up card a try! If you do I would love to see your creations, just tag me on social media @craftyannastudio.
In the meantime, have a wonderful crafty day!
Til next time!
❤️
Anna
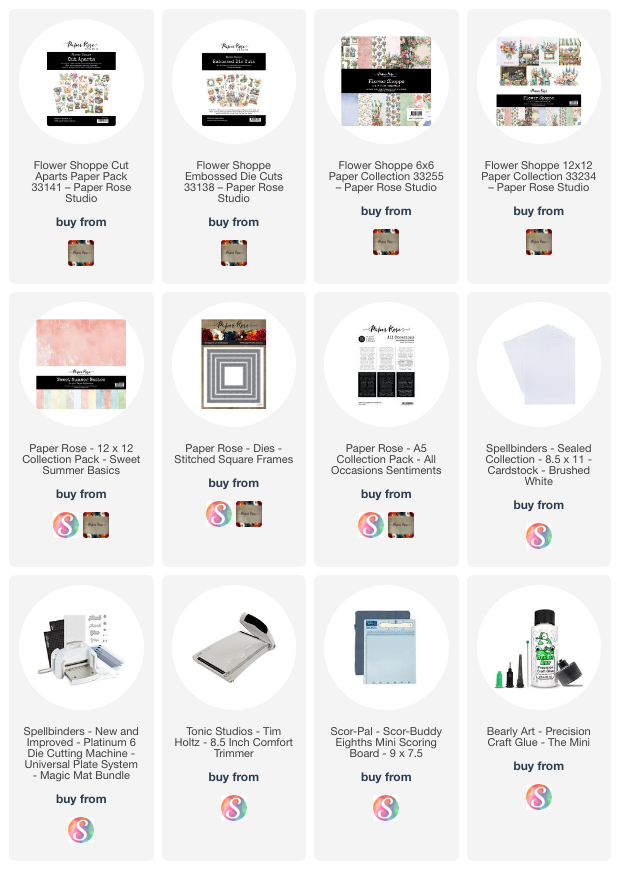
Product List: