Hi everyone! It’s been a minute since I last posted as a lot has been happening in my life right now. Most significantly, sending off my eldest child to university – in another country!
I am currently in Madrid, Spain as my daughter decided to study here. Why Spain? Well, I have roots here. My dad is Spanish, though I’m half Filipino, I maintained my Spanish heritage and connection to the country. I was born and raised in the Philippines, and if some of you don’t know, the Philippines used to be a colony of Spain. So, we do have a unique culture of European and Asian influences. My husband is from Mumbai, India — so you can only imagine the diversity in our family!
Anyway, back to the project for today. I could not bring my whole craftroom with me so crafting on the go has been quite the challenge. But it also made me realize that I do not need so much “crafty stuff” to create beautiful projects.
For this month’s MMH kit, I went down the clean and simple route. But first, take a look at the kit and how completely appropriate it was for me as I am actually traveling this month! These two cards were made using the elements in the Classic kit.
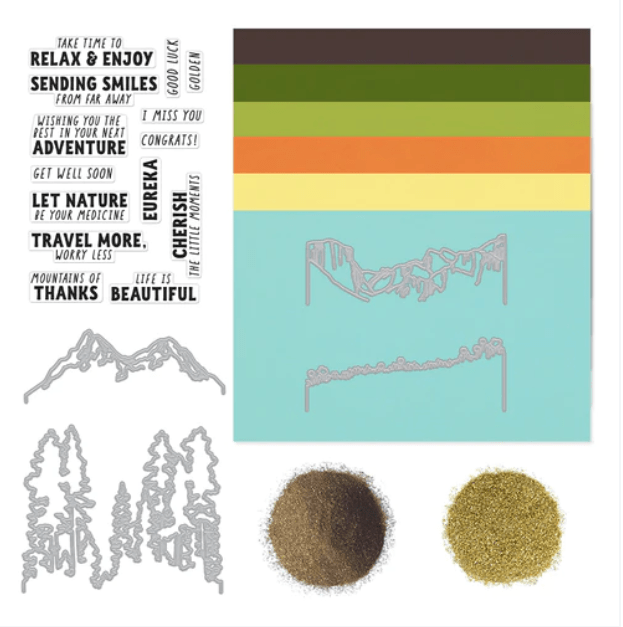
CLASSIC KIT INCLUDES:
• Clear Stamp Set, 4″ x 6″
• 4 Park Scene Fancy Dies
• 1 Sheet each of Papaya, Canary, Palm, Kiwi, Woodland and Mist Cardstock, 5.5″ x 8.5″
• Brass Embossing Powder, 0.5 oz.
• Gold EarthSafe Glitter, 0.5 oz.
I used all the elements in the classic kit for my cards and it was super easy to put together and I was able to create two cards just with cutting each element once!
I did not bring my full size die-cutting machine with me, only the Hero Arts compact cutter. I was pleasantly surprised I was able to cut out the mountains and the grassy hills using the compact cutter!
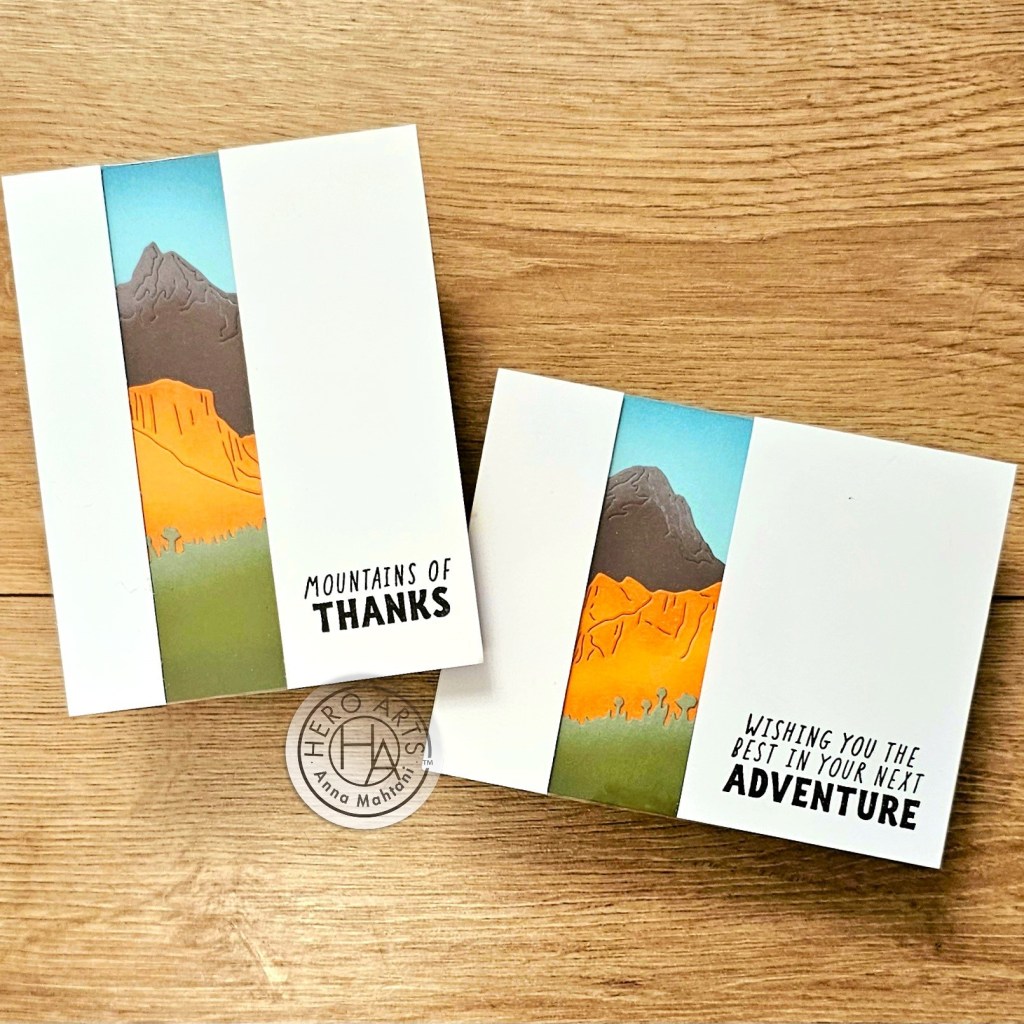
I took each Hero Arts hero hues cardstock in Woodland, Papaya and Kiwi and trimmed 3″ wide strips. Then using the two mountain dies and the grassy hill dies, I die-cut them out.
I ink blended the highest peak cut out from Woodland cardstock using Unicorn White pigment ink to give it a look of snow capped mountains. Then I inkblended the mountains cut out of Papaya cardstock with Caramel ink and the grassy hill cut out of Kiwi cardstock with Moss ink. I then took a 4.25″X 5.5″ panel of Mist cardstock and ink blended the top with Pool ink.
To prep the front panels, I cut a piece of Dove white cardstock measuring 1″x 5.5″ and another piece at 2″x 5.5″. This will be the window of the portrait orientation card.

I then cut each of the mountain and grassy hills elements accordingly, moving them around to see which part I wanted to show.
I stamped the sentiment “Mountain of Thanks” with Intens-ified Black ink on the lower right. I then assembled it using a strip of acetate for the window.
I then layered the elements and glued them down using liquid glue. I added cardstock layers on each side to even out the surface before adhering the front panel with dimensional foam tape.
I did the same for the second card but this time in landscape orientation. I cut a strip of Dove white cardstock measuring 1.25″x 4.25″ and another piece measuring 2.75″x4.25″. I stamped the sentiment “wishing you the best in your next adventure”

These cards will be going to my sister-in-law and her family as they will be moving to Portugal from the Philippines this month. It’s been quite difficult time for us and for my kids as they will surely miss their cousins but at the same time, we wish them well in their new adventure in another country!
Saying goodbye to my daughter and my sister-in-law and her family will be difficult but it will be temporary.
Thank you so much for reading my blog this far. And i hope you were inspired to create something today.
In the meantime, take care of yourself!
‘Til next time!
Anna
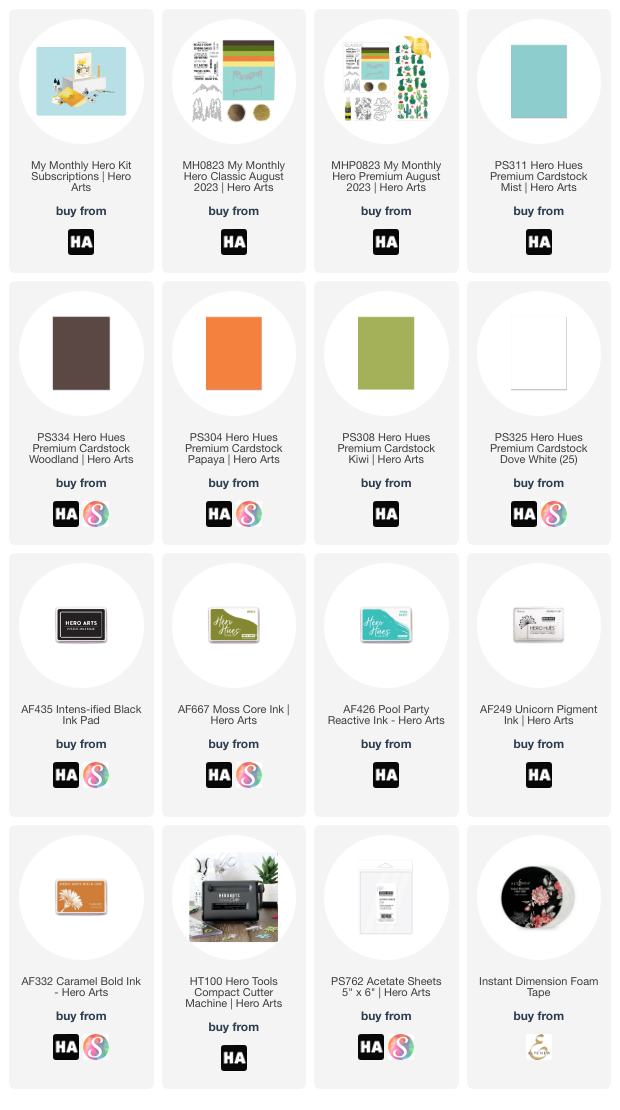
Product List: